
Light Gunsmithing
Additional Stock Improvements
column By: Gil Sengel | March, 20
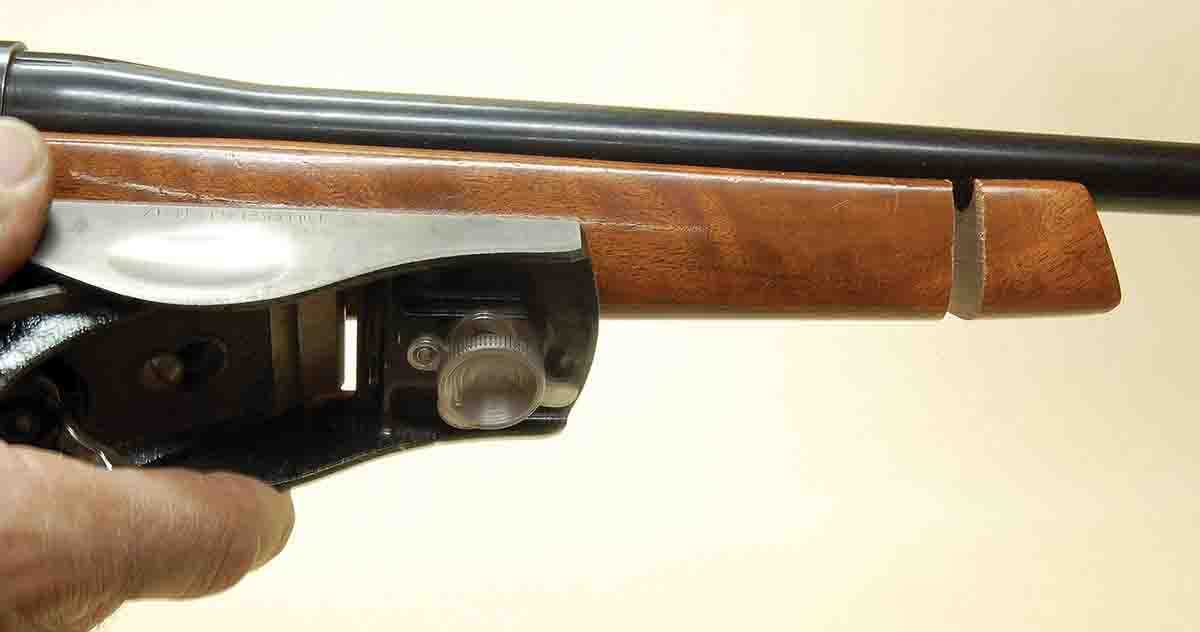
The most noticeable of these is the flat-bottomed forend having equally flat sides tapering in toward the barrel. Allowing a better grip on hard-kicking rifles is often stated as the reason for this. Yet if a person closes whichever hand holds the forend, it forms a circular cavity in the palm, not square or triangular. How this squarish shape provides a better grip escapes me, as does the claim flat forends are easier to control on sandbags. While the idea is true for wide forends, such designs are not usually used on hunting rifles. Then too, not many big-game animals are shot off a benchrest and sandbags. If a shot is taken off a rolled-up jacket or packframe, which won’t be parallel to the ground, a flat forend can introduce a degree of cant that could
The forend also has backward slanting wood at its tip, also a common feature of the time. Fortunately, the forend was long enough to allow trimming this off. Much of the “squareness” of the forend could be removed; not perfect, but close. A small block plane took care of this quickly and prevents unevenness that would occur if a rasp was used. Using the rule of design and proportion that states the length of wood forward of the receiver should be 40 percent of barrel length forward of the receiver allowed that angled tip to be cut. An Alex Henry (Ruger No. 1A) shape will be formed in its place.
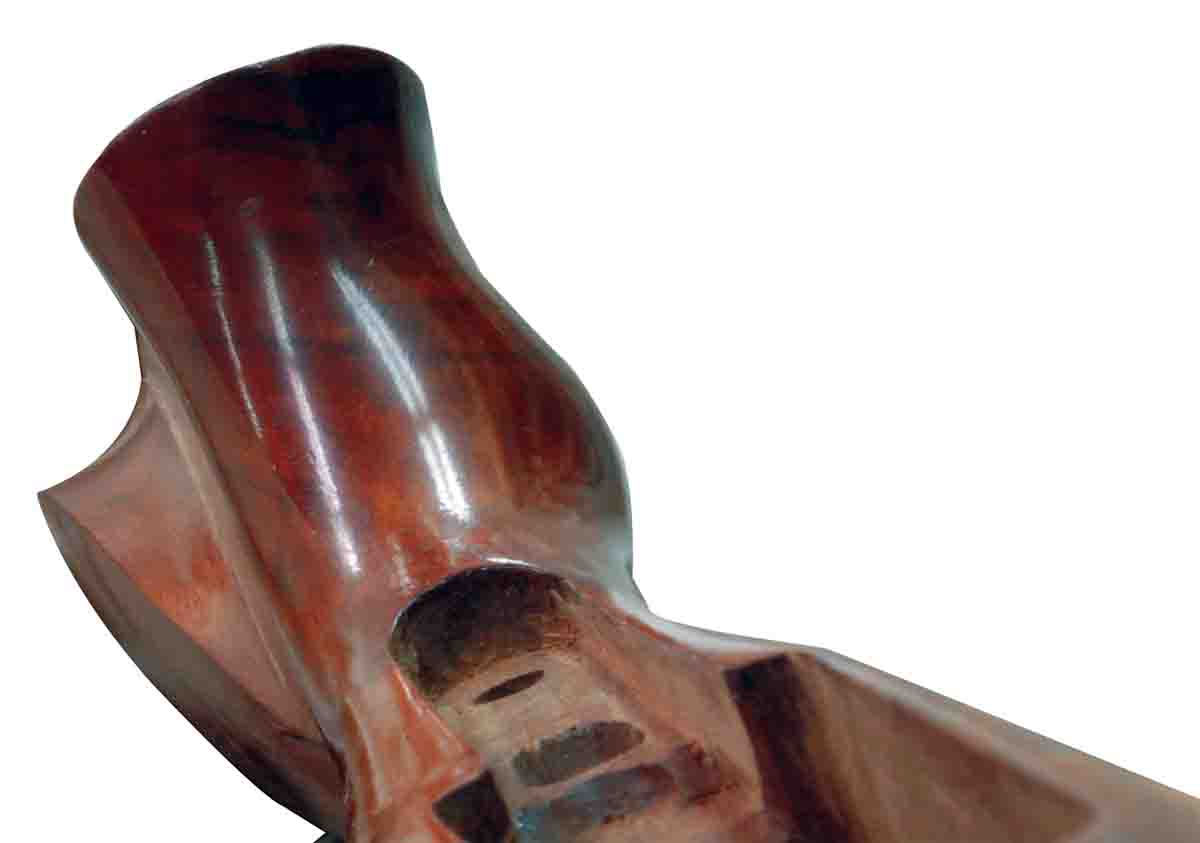
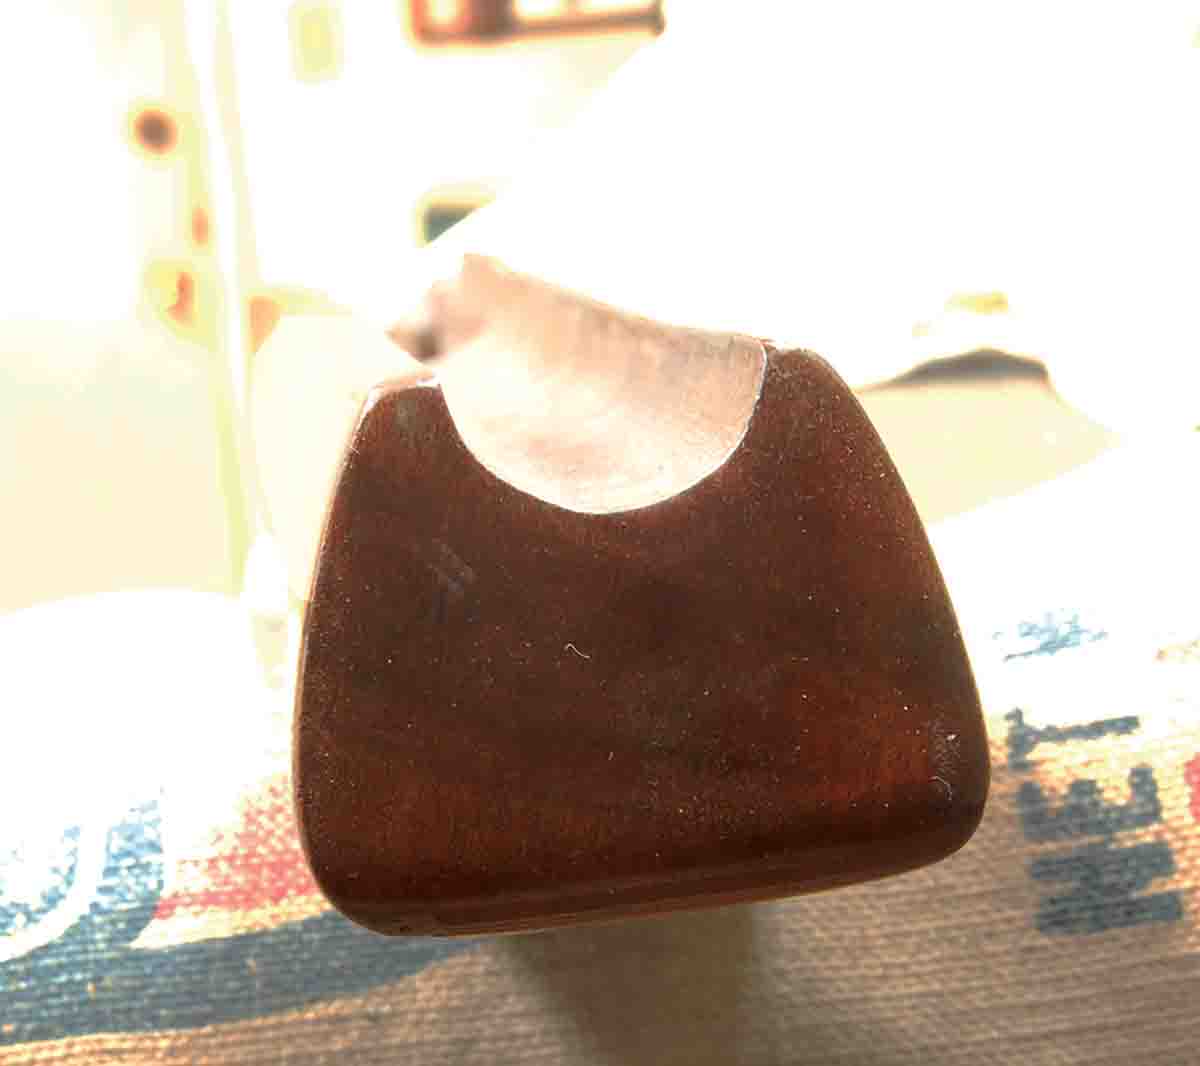
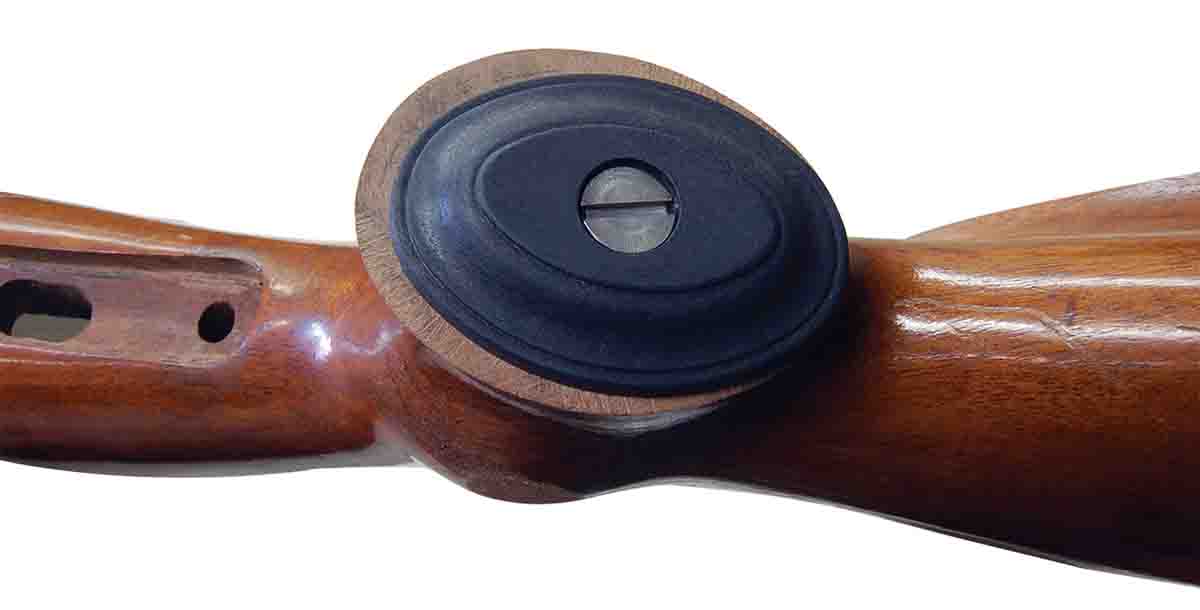
Now for the grip. The photo was taken from the front of the forend. Very noticeable is a large lump in the right side about halfway down the grip, and the grip is flared at the bottom. The bottom line is a bit flat; it should come out ahead of the comb line/heel junction. The line is not very far off here, but it will allow cutting a bit off the back so it won’t hang down so far. A grip cap was also added. Some stocks of this style had grips that hung down far more below the toe line and were flared more.
That strange bump on the side of the grip is sometimes called a palm swell or Wundhammer bulge. Louis Wundhammer was a California gunsmith sometimes credited with being one of the first to make sporting rifles from military models. For some reason he favored this bulge. The idea, of course, is to fill the hollow spot in the palm when the hand holds the grip.
Most semi-finished stock companies offered Wundhammer’s creation on a model or two, or as an extra cost option. They were somewhat popular on restocked rimfire target rifles in the 1950s and ‘60s.
The flaring of the grip was taken care of by installation of the grip cap and removal of the palm swell. Origin of this flaring is a mystery. Some writers have proposed the flaring prevents the hand from sliding off the grip when the rifle is fired. Rifles, however, recoil rearward, pushing the trigger hand up against the rear of the trigger guard, not the other way around. Perhaps the function of a flared grip will forever remain a mystery.

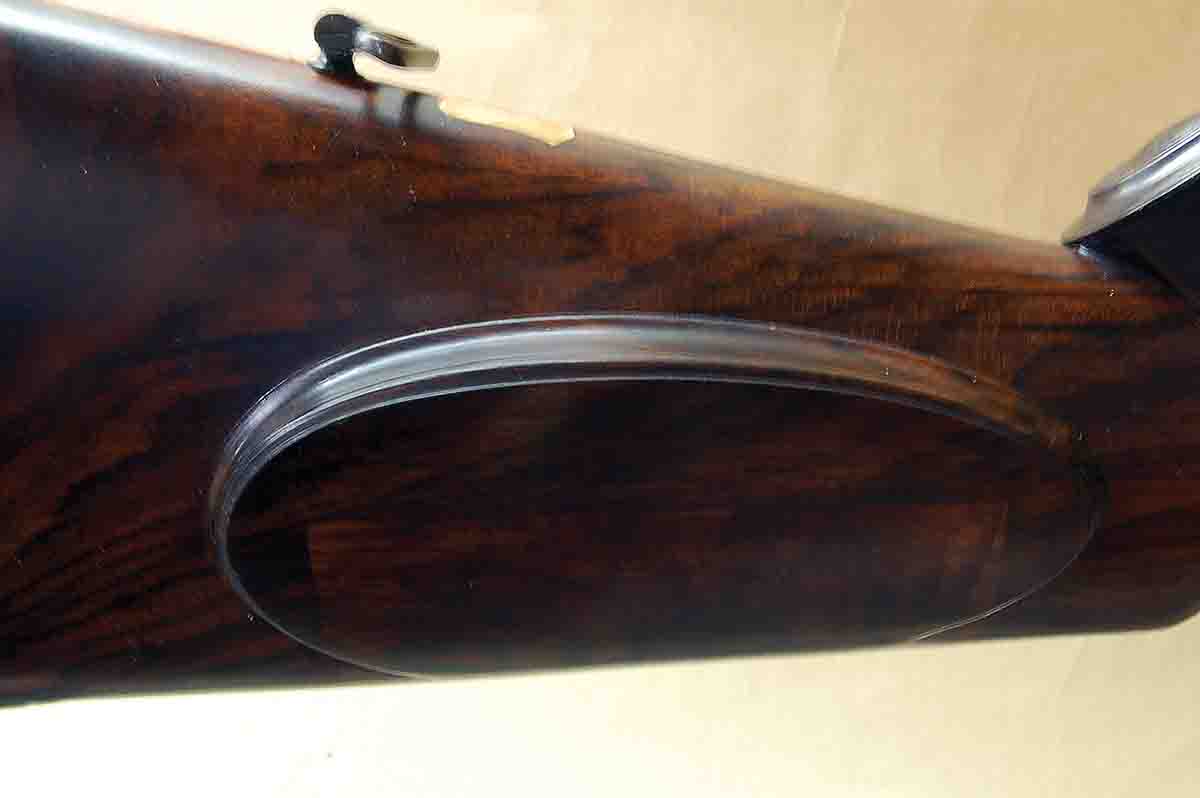
At the same time, the sharp comb nose was rounded back. Then the thumb relief cuts on both sides were widened and lengthened because they were
Now with some careful sanding and a well filled finish, the rifle will look and feel like a new gun – a new custom gun, something that is getting harder to find as the years go by.
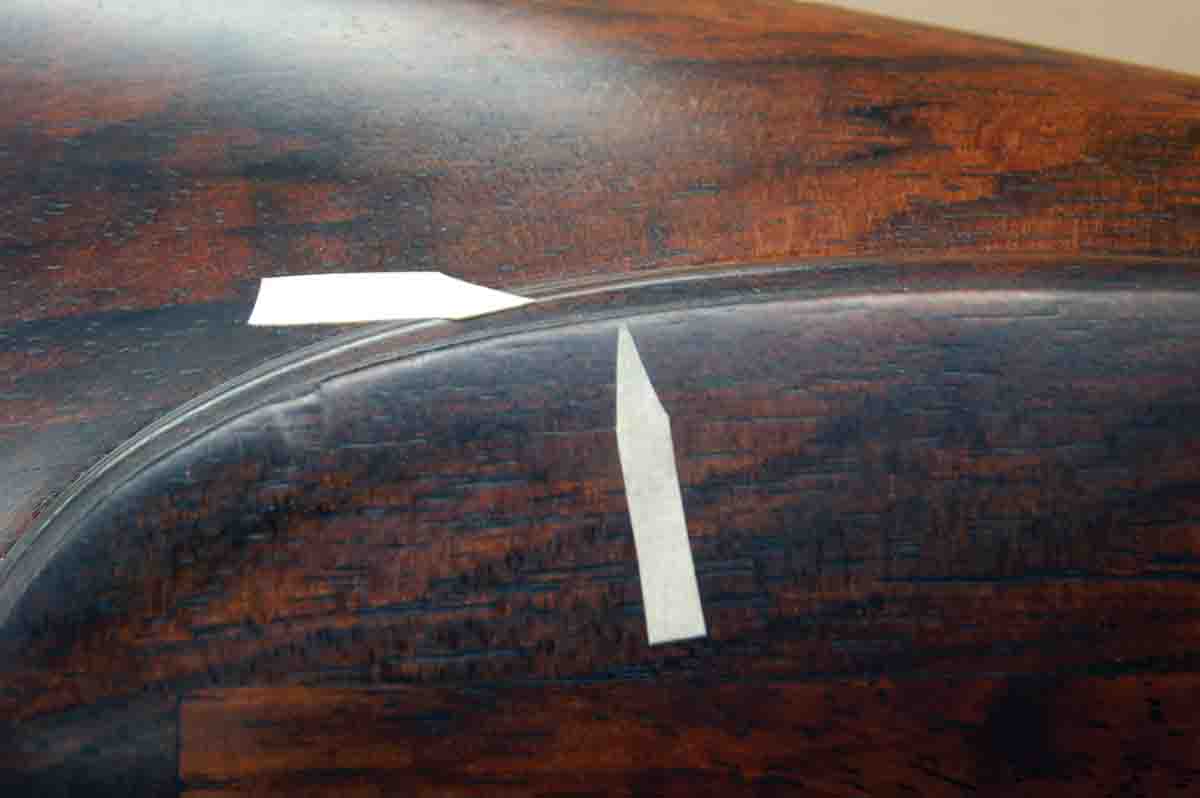
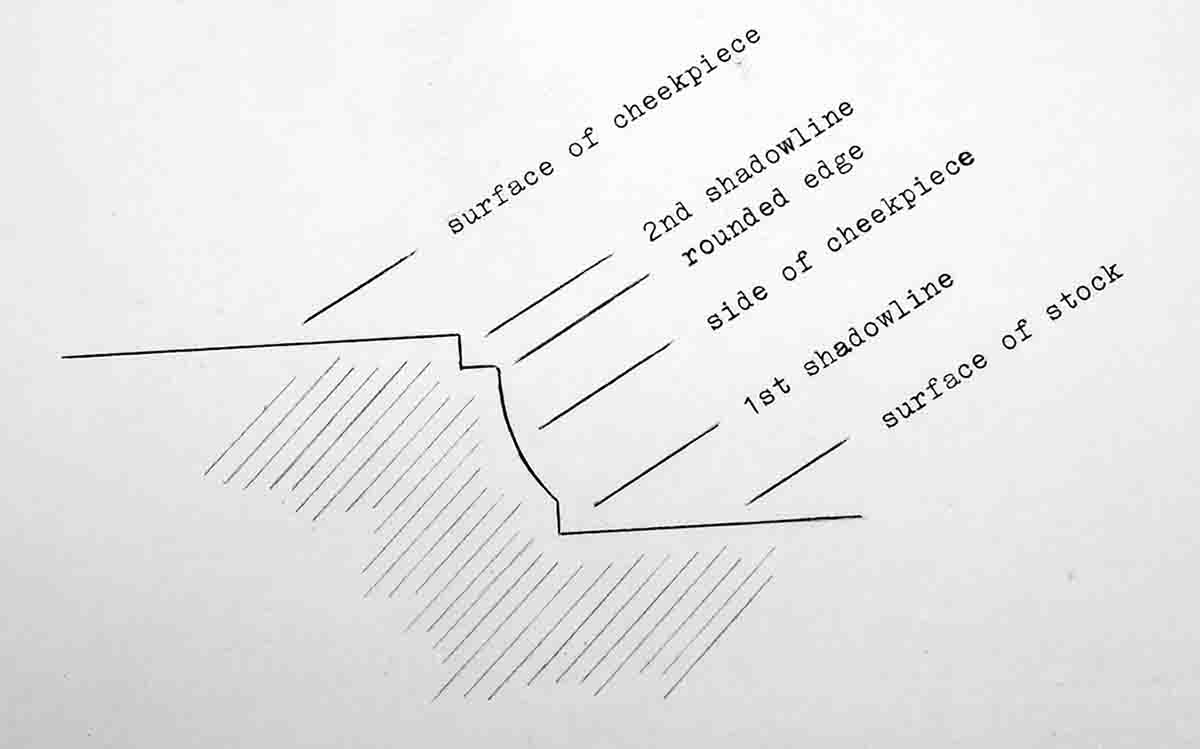
I will finish up with some woodwork that was wanted for the cheekpiece column in Rifle No. 307 (November 2019). However, there was no space in that column and an example couldn’t be found anyway. This is the seldom seen double shadowline. The gun shown is a British double rifle with an extremely dark stock, making photos difficult. A drawing is also included to show exactly how the double shadowline is formed.
First note that the second shadowline is cut into the top edge of the cheekpiece. Depth is the same as the lower shadowline. Width – the amount it is set back into the top edge of the cheekpiece – seems to always be half again to twice more than the depth.
Rounding of the front lower edge seems to be the reason why. Individual stockmakers can vary this depending upon personal preference.
Since the entire second shadowline must be filed freehand, it is not a project to take on lightly. Definitely do not practice on an existing stock! Once learned, however, it is an interesting “trick” to have in your toolbox of custom features that will set your work apart in most any company.