Light Gunsmithing
Savage Model 24
column By: Gil Sengel | September, 20
This being Rifle magazine, we try to keep the subjects related to rifles. However, this time we are dealing with only half a rifle – one barrel is chambered for a rifle cartridge and the other a shotgun round. The gun is an over/under (O/U) sold by J. Stevens Arms and Tool Co. as the No. 22-410 Rifle and Shotgun beginning about 1940.
Even though Savage Arms Co. had purchased Stevens in 1920 and later put its name on the gun, it is fitting that it originally sold under the Stevens brand. A producer of inexpensive .22 rimfires and shotguns since 1870, countless boys had grown up with Stevens guns. None saw anything wrong with the fact that they sold for a bit less. These same people made the new O/U very popular. Every kid who lived in a hunting environment wanted one. Used ones are quite common. I am referring to guns made up to about 1970, as changes were then being made that destroyed the original concept of the gun.
Almost no one today understands this, but the little Stevens was what might be called a “boy’s weekend, woods-rambling, target-of-opportunity gun.” It evokes a time, not so long ago, when for much of the country the addition of a couple of rabbits, squirrels, a duck or goose (in season and sometimes not) was a welcome addition to the dinner table. If the target was not moving, the rifle barrel was used. Ammunition was cheaper, and low-velocity .22s didn’t destroy edible meat like today’s rimfires. If the target was running or climbing, there was the shotgun barrel, which was never intended for wing shooting, despite some Savage ads to the contrary. Waterfowl were potshot on sloughs and farm ponds; just whistle like a bobwhite quail to get them to raise their heads.
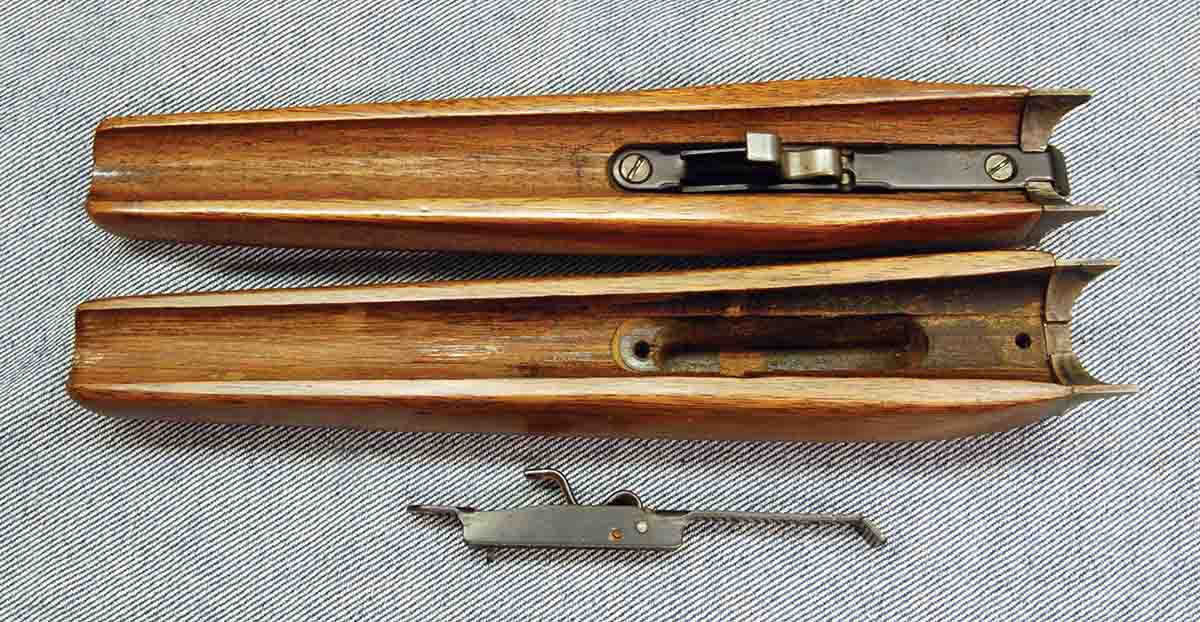
Unfortunately, keeping gun costs low resulted in compromises in design. The Stevens/Savage O/U has two items that commonly need attention. The first is most noticeable – the forearm falls off and is lost while hunting. Second is the barrel selector button, which also falls off. The forearm was designed to require no fitting when the O/U was built. A weird-shaped spring in the forearm bears against a weird-shaped lug on the barrel. This works because the spring is pinned to the forearm iron. As the iron encircles the forearm lug when the gun is assembled, the spring bends and moves slightly “over-center” of its pin location. Several break-open guns used variations of this system.
Savage M220 shotguns and M219 .30-30s used exactly the same parts in their forearms as the O/U. It works passably well, but only if the spring exerts enough rearward pressure on the forearm. This is often not the case. The springs seem soft, and it would not be surprising to learn they were made from an alloy steel that could be bent cold and still exhibit some “springiness” without heat treatment.
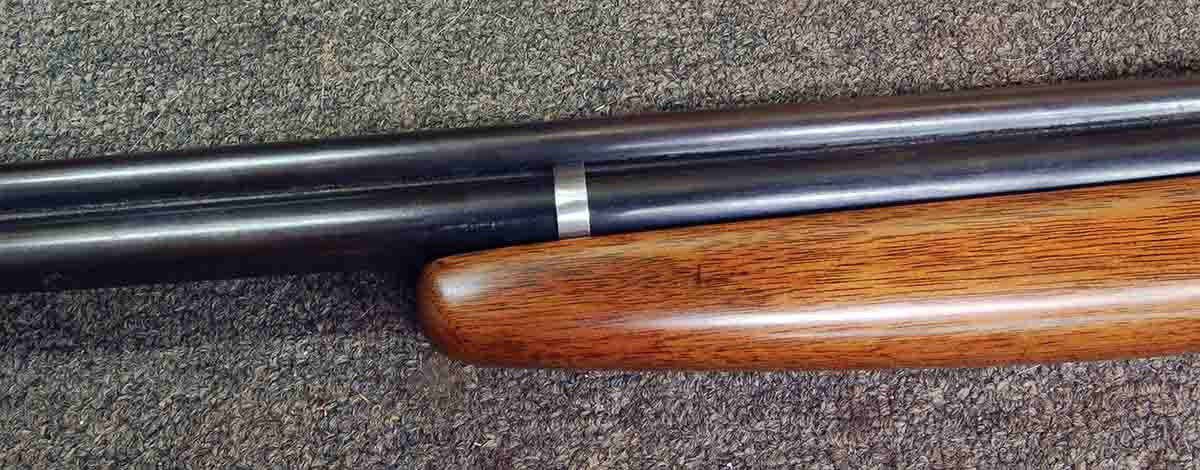
There is an easy way to repair the little O/Us that require it, as well as all other inexpensive single shots using this type of forearm retention. A small barrel band held by a screw through the bottom of the forearm does the trick. The existing weak spring stays in place. Since none of these guns have any collector interest, the alteration harms nothing. The band made here is for a Savage M24 O/U. Its forearm was lost years ago, but luckily, I found it by backtracking. Electrical tape has held it in place ever since.
The .410 barrel behind the forearm tip where the band will fit measures about .680 inch in diameter. In fractions, this is just under 11⁄16 inch. Common twist drill sets only go up to half-inch, but anyone doing much stock work will have another common set from 9⁄16 to 1 inch by sixteenths. These large drills have their shanks reduced to half-inch, so they fit a standard drill chuck. Of course, if a small metal lathe is available, the hole can be bored to any size desired. Remember, however, that the band will be a loose, sliding fit on the barrel. Its purpose is only to prevent the forearm falling off when the weak forearm spring is overcome by recoil, catching on brush or other events that can occur while hunting.
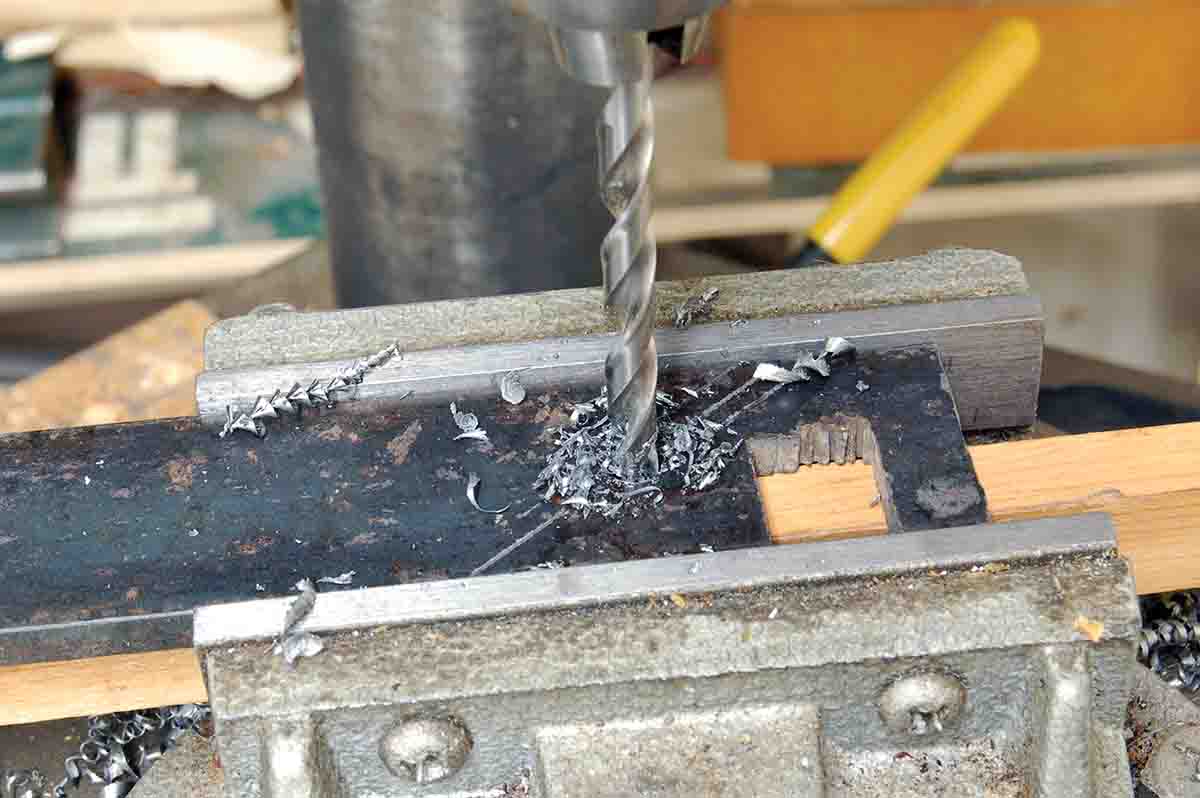
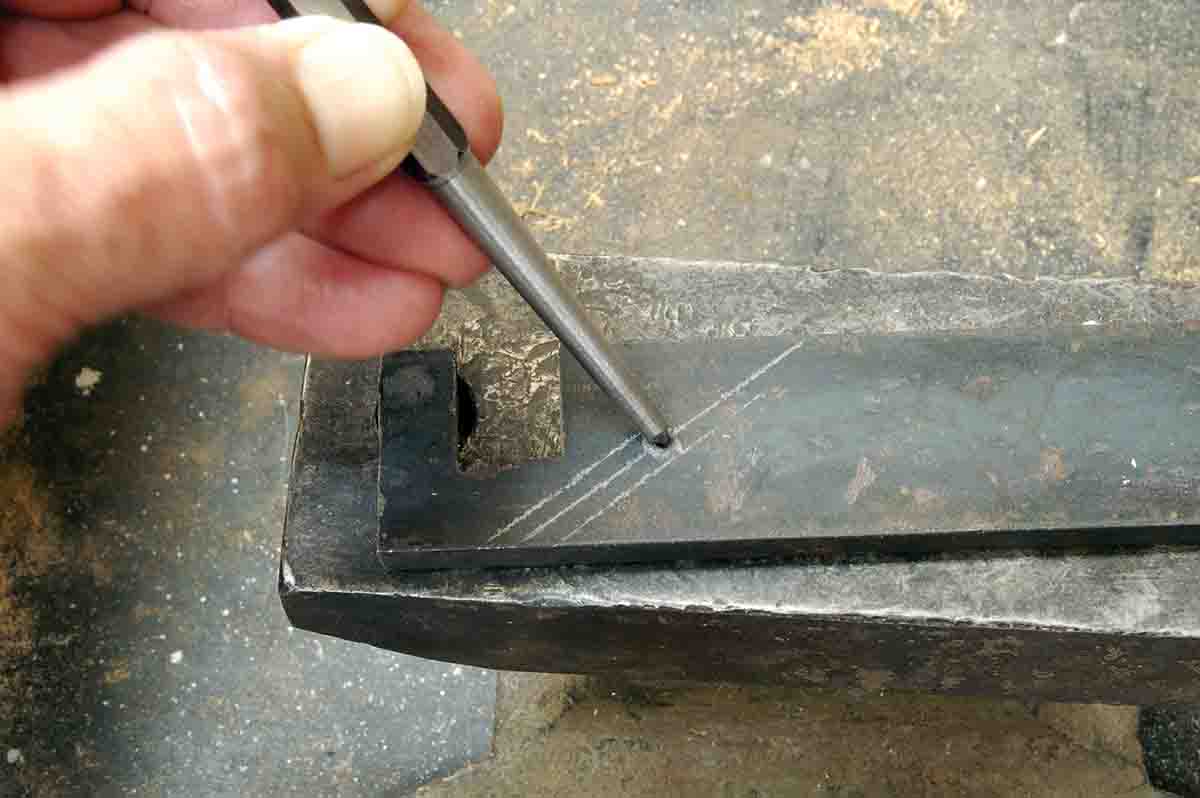
Layout is done on ¼-inch thick scrap steel. Note the scribed line. A centerpunch mark locates the center of band hole. The line is necessary to locate the top of the band, which must be filed away so it can slide down the barrel and also properly locate the point to drill and tap for the attaching screw.
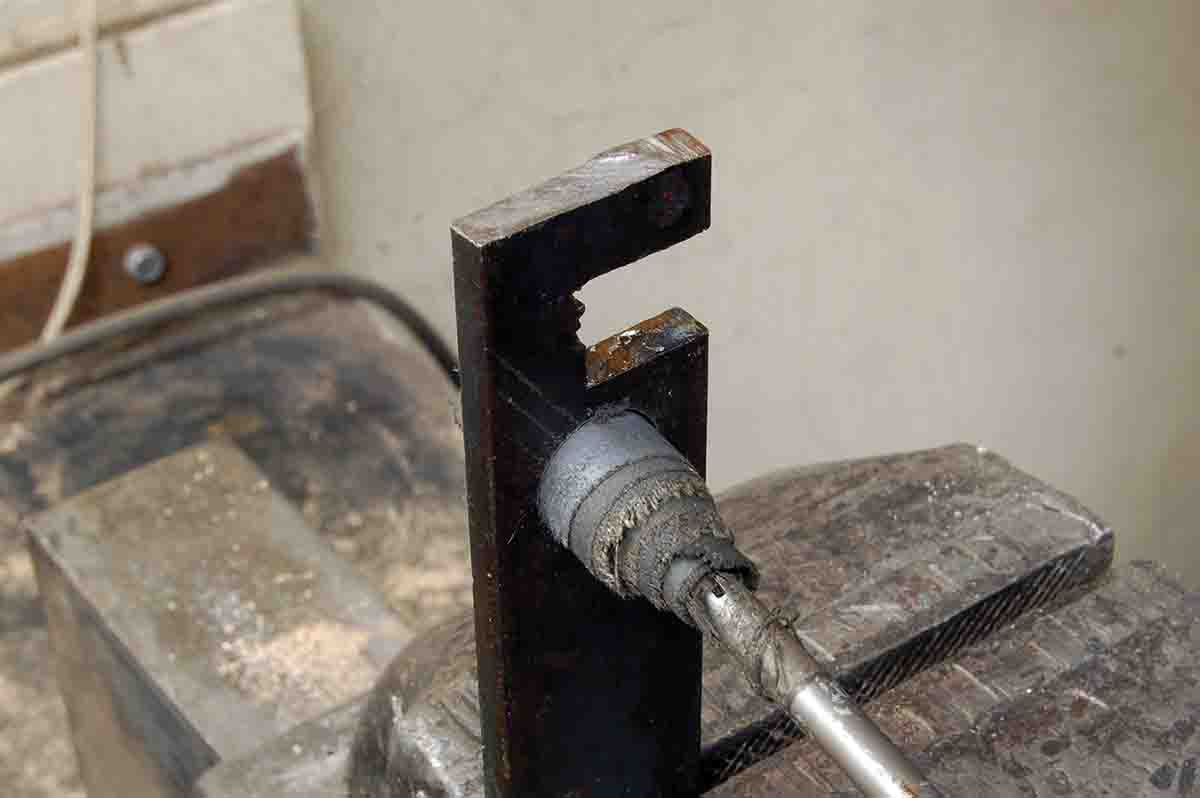
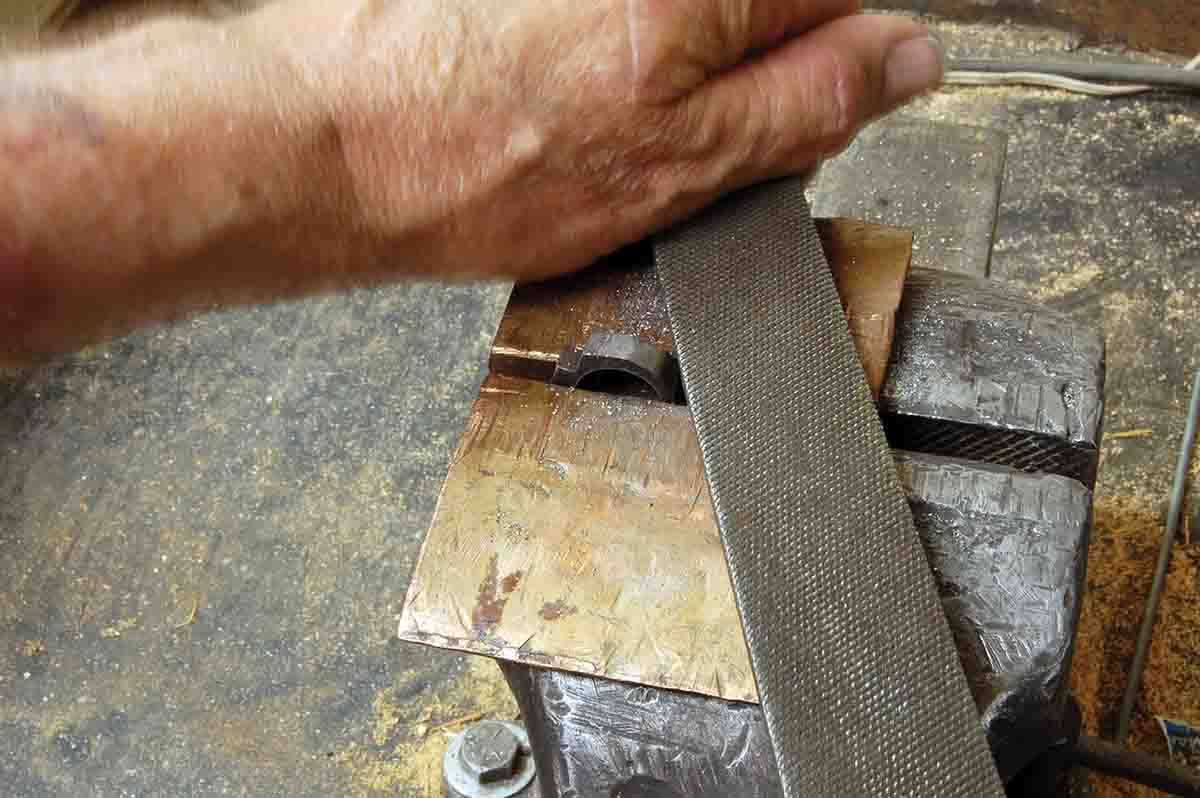
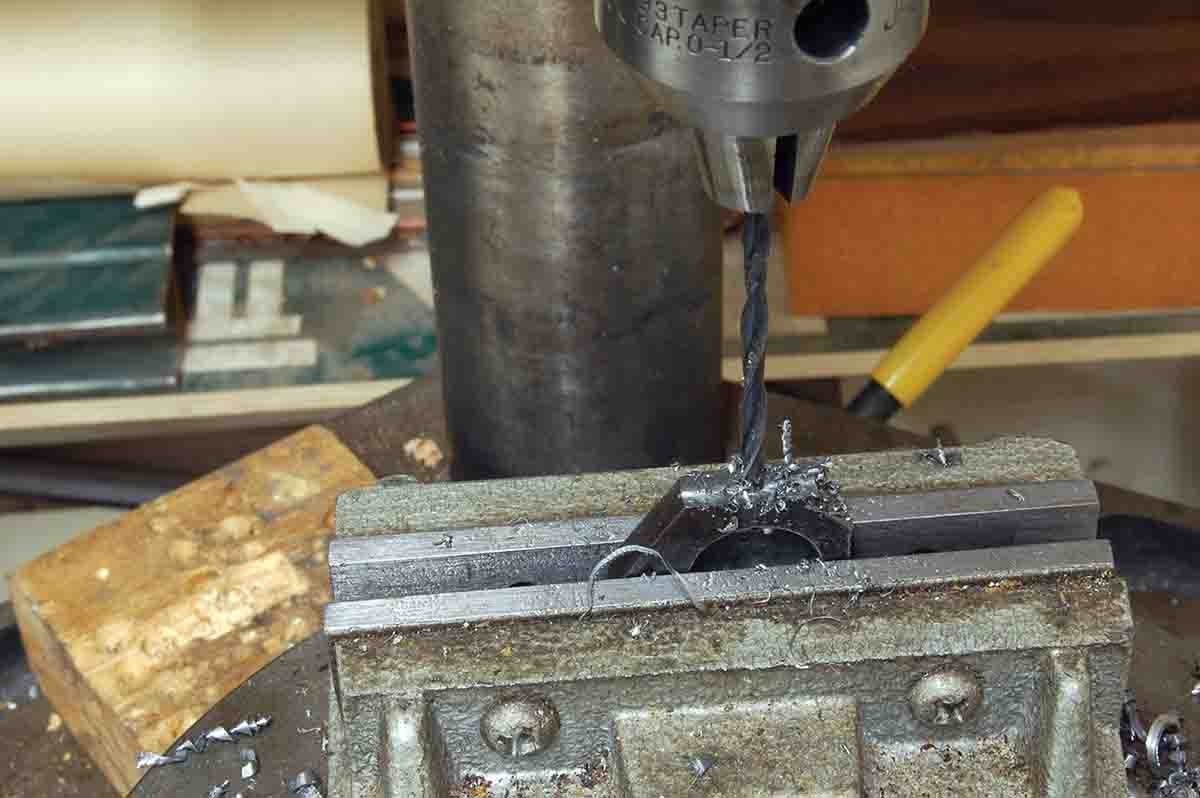
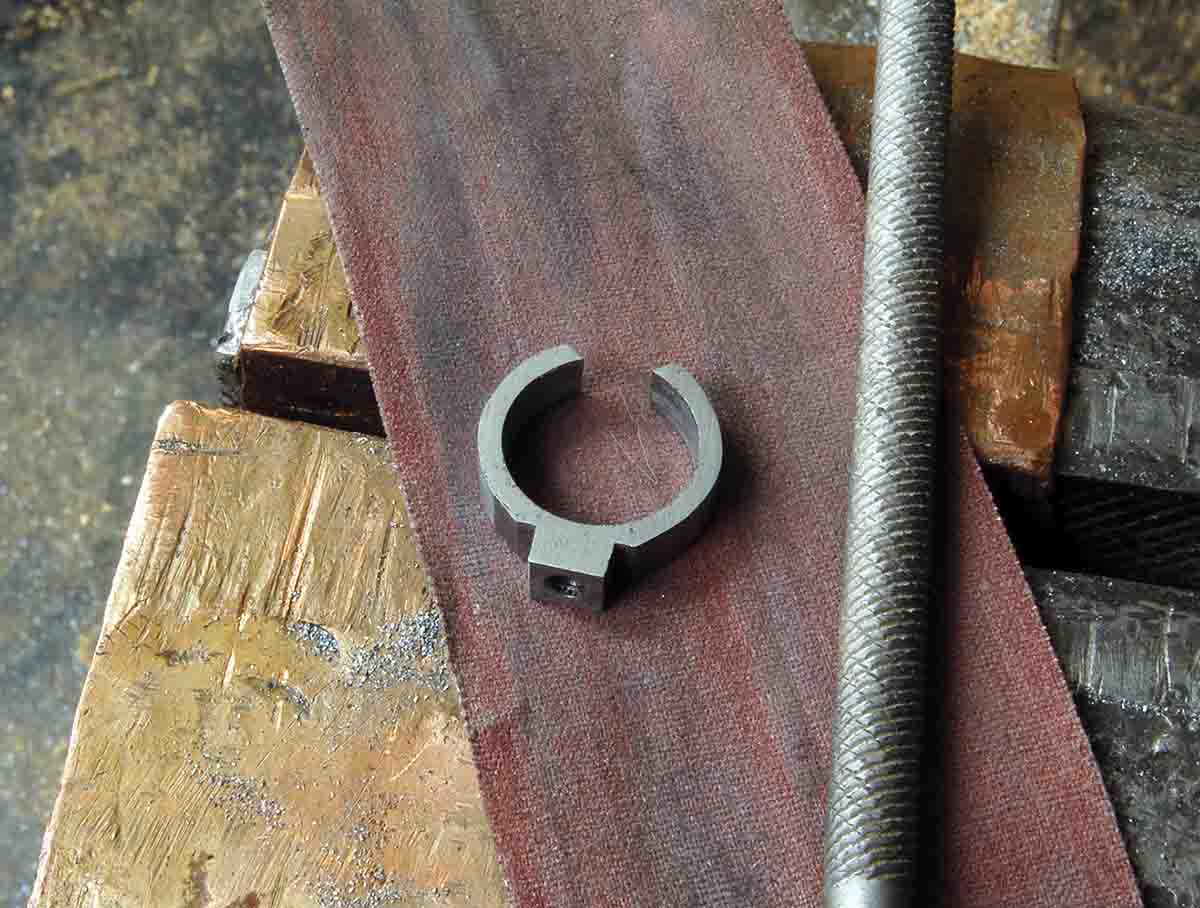
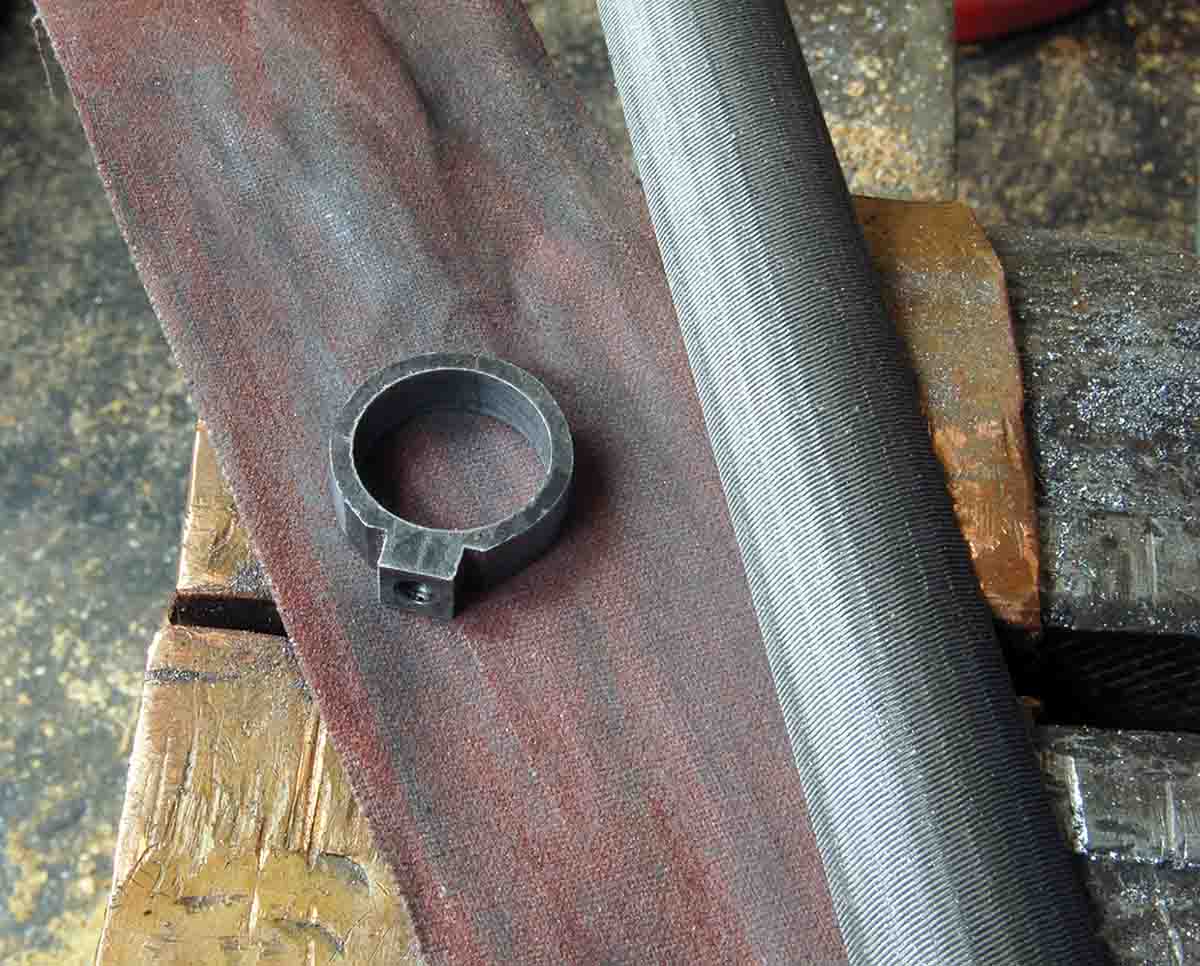
The band hole is started with a small drill, increasing the size up to 11⁄16 inch. It is finished by polishing with 250-grit abrasive cloth. Now comes about 15 minutes of hacksawing and filing the band to shape. (See accompanying photos.) Note the projection left on the band. It is drilled and tapped to 8x32-tpi for the forearm attaching screw.
Polish exposed band surfaces with 250-grit abrasive to match the finish on the rest of the gun. Finally, file the opening in the top of the band to clear the joined area of rimfire and shotgun barrel. A half-inch diameter round file is perfect for this.
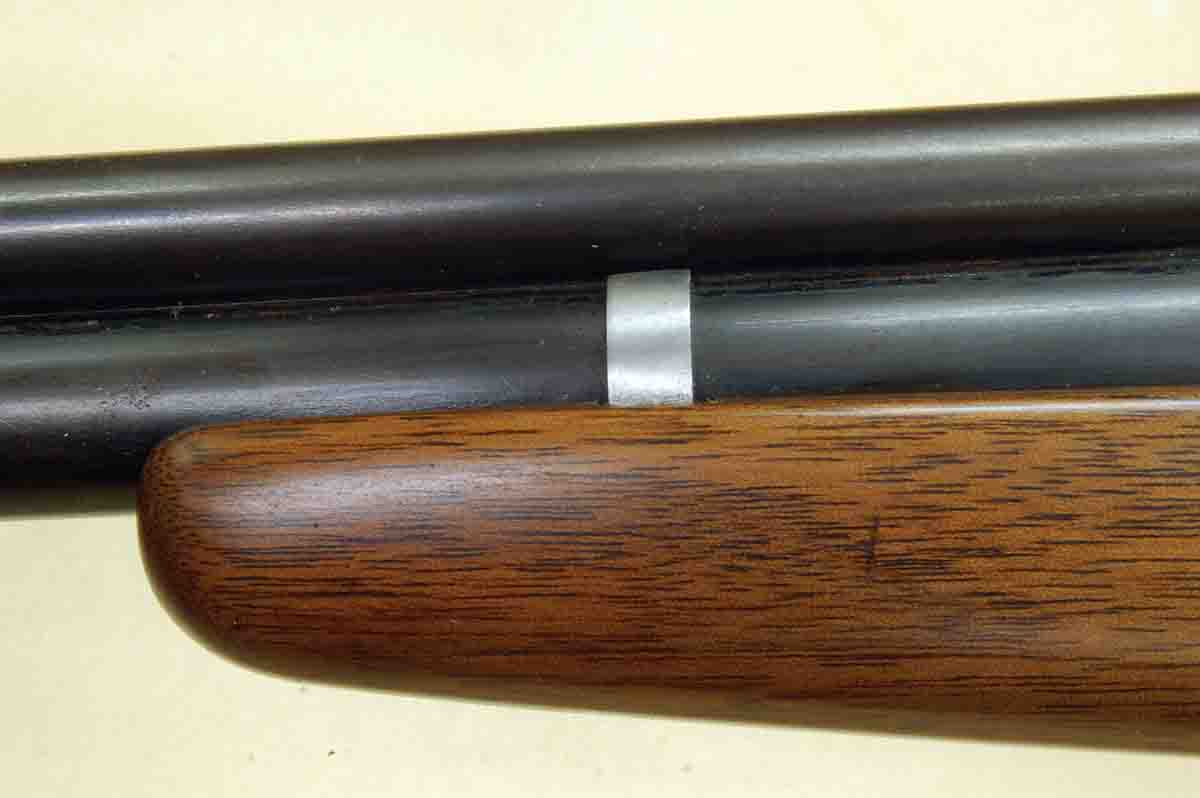
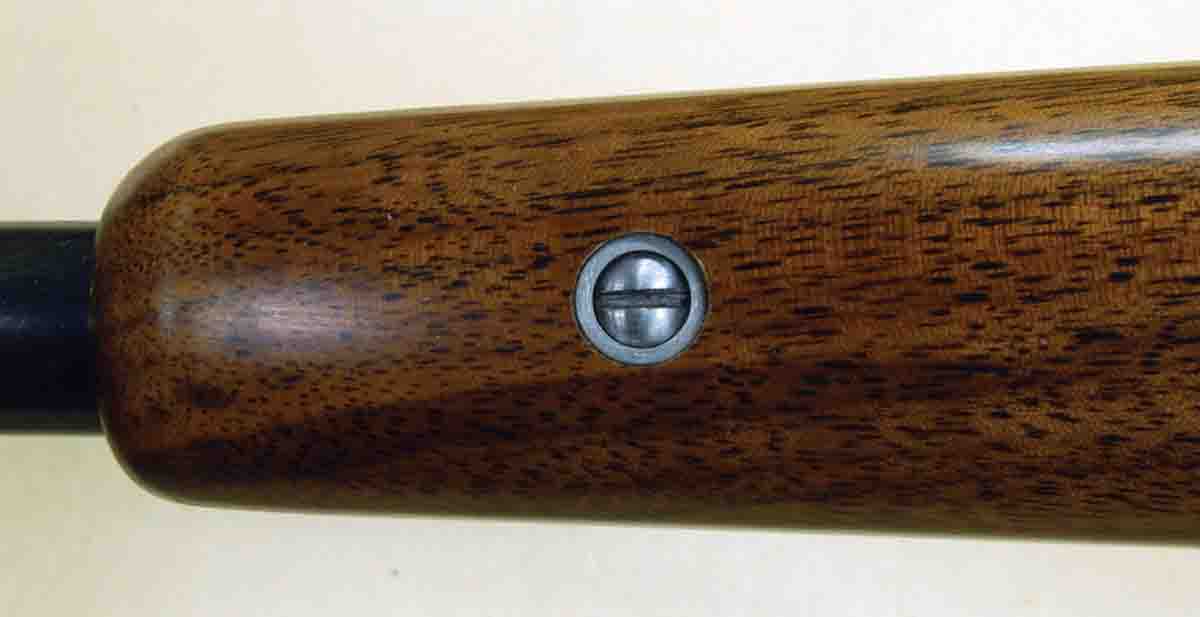
Band location is about 1.75 inches behind the forearm tip. Find the exact center of the bottom of the forearm wood at this location and drill for the attaching screw. The screw should be about a quarter-inch longer than necessary so it can be used to pull the band straight into the wood when inletting. When complete, shorten the screw so it doesn’t contact the barrel. Obviously, the screw will have to be removed to disassemble the gun for cleaning, and the band slid along the barrel into its recess when reassembling. At least now we can be certain there will be a forearm to remove and replace.
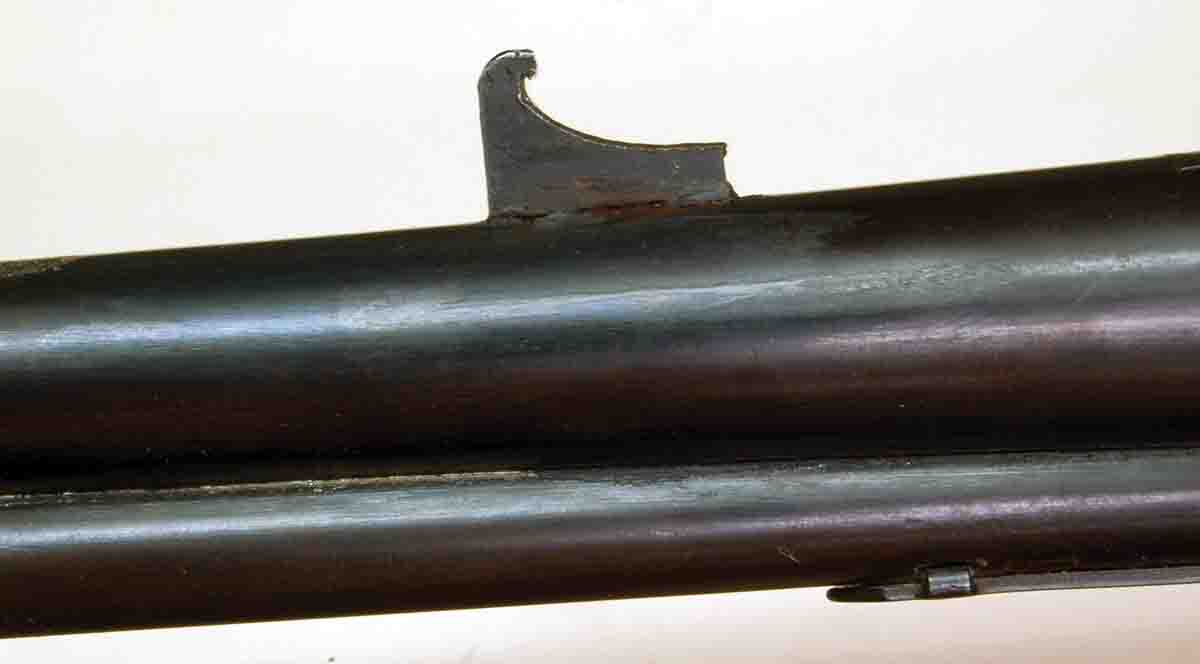
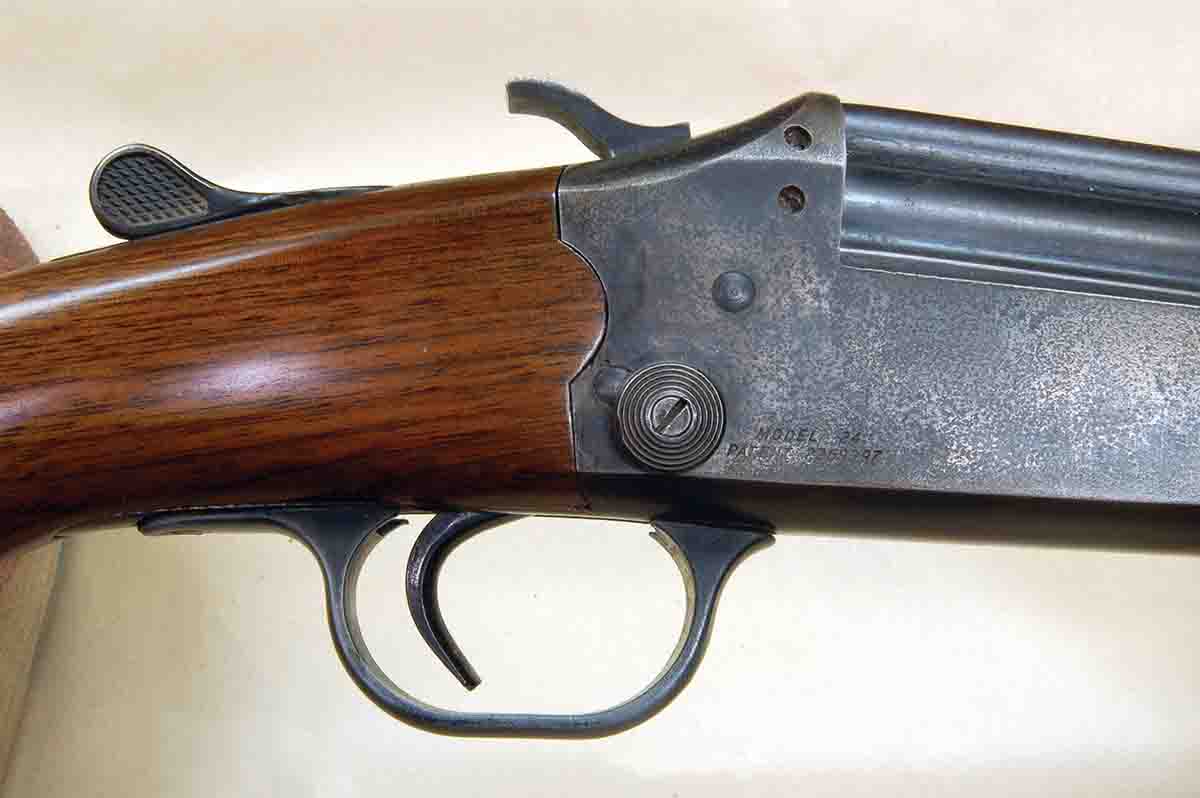
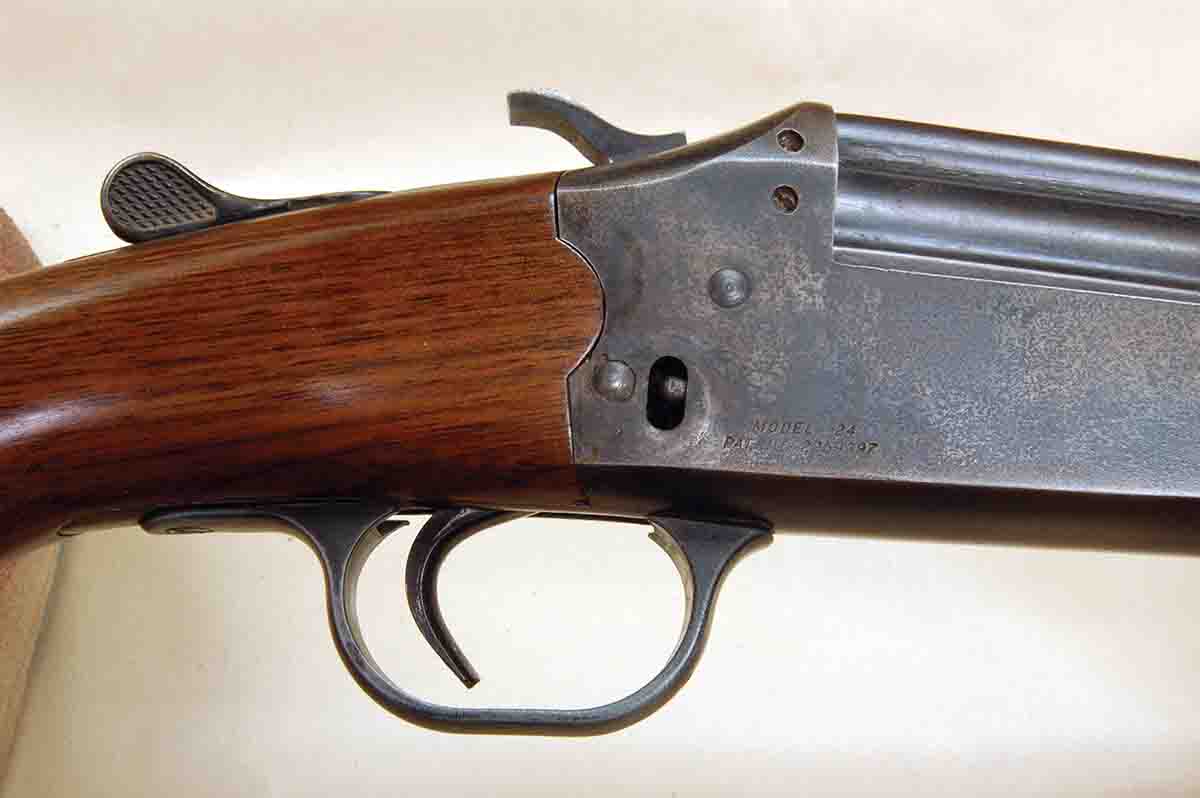
A second concern mentioned at the beginning of the column involves the barrel selector button located on the right rear of the receiver. Like the forearm, it has a tendency to fall off. At some point it was replaced by a movable part in the face of the hammer, no doubt because of this problem.
Here we run into a situation caused by nothing more than trying to save on manufacturing costs. The selector button and its shank are round. The attaching screw is a tiny 5x40-tpi fastener of which only two or three threads engage. There is nothing to prevent the button from turning due to hand contact when carrying the O/U, or just pushing the button to select which barrel to fire. If the button turns, so does its screw, which can’t be turned very tight or it will break off. With only a couple threads engaged, it soon falls out. A plunger bears against the selector button’s shank down in the action so the button doesn’t exit immediately, but it won’t be long. The gun is then useless because barrel selection is impossible.
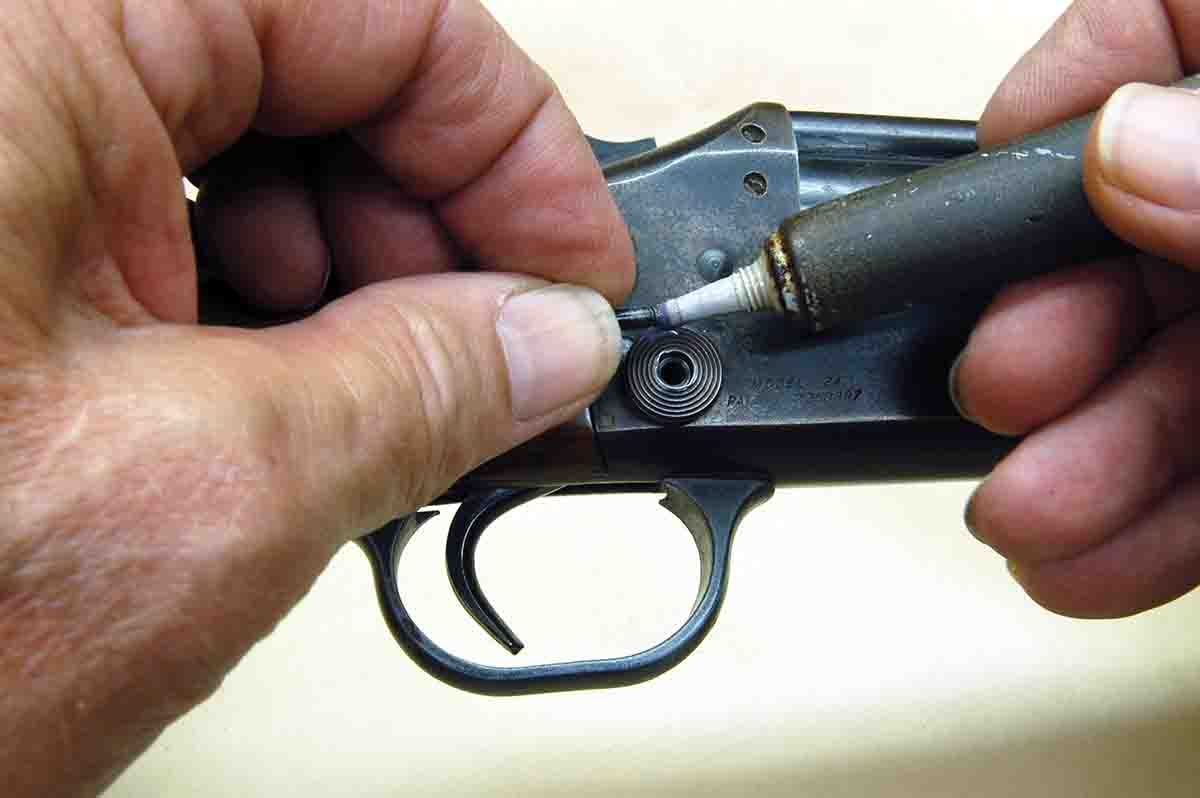
Selector buttons are easy to make (dimensions are on the internet). That 5x40-tpi screw is another matter. Gunsmith supplier Brownells, Inc., has a 5x40-tpi refill pack for its Fillister Head Screw Assortment which can be made to work. A drop of blue Loctite should be on the threads of every one of these screws.
Keeping the Stevens/Savage .22-.410 O/U operating is almost a duty. When used as intended, it is as much a part of American hunting history for kids as the Winchester M94 is for grown-ups.