Down Range
Color Case Hardening
column By: Mike Venturino | July, 19
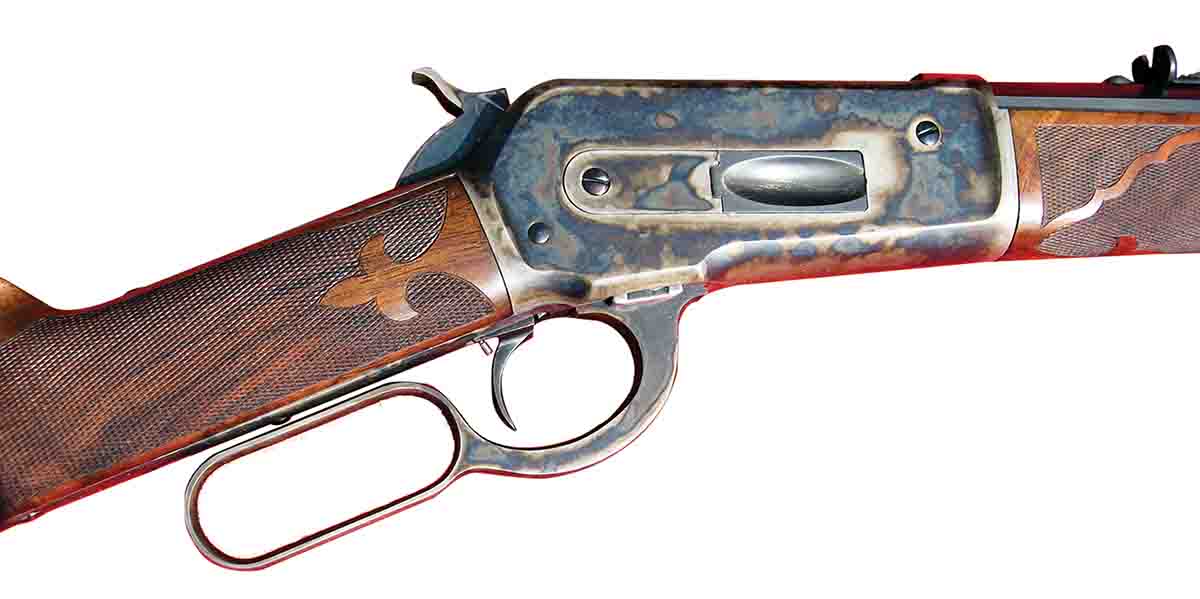
A used car salesman once told me, “Paint sells.” To paraphrase in regard to firearms, “Color case hardening sells.” That’s in today’s marketplace. In the old days, I suspect attractive colors were a byproduct of hardening rifles’ and revolvers’ steel or iron receivers for safety’s sake. Today, steel can be plenty hard and therefore safe without color case hardening, so it is applied more for cosmetic purposes.
Over a year ago at a Montana gun show, I was browsing the aisles and came across a gunsmith’s display of his firearms restoration work. Among the items shown were examples of his color case hardening, and to say it was attractive would be an insult, so I stopped to visit. His name is Al Springer (Snowy Mountain Blue, 816 West Fork Road, Moor, Montana 59464; smbgunrestorations.com), and since that first visit, we have become friends. With a bit of timidity, I asked Al to explain his pack color case hardening process, of course without disclosing any trade secrets. To this Al replied, “It’s an art that should never be lost, so I have no secrets.” He also stressed to me that his methods are not the only way to pack harden steel, but he has had success with them.
Here’s how he proceeds: Of course, getting the parts ready comes first. If they are new, as in never previously color case hardened, he polishes them with 400 grit emery cloth. He feels it gives a better surface. However, if the parts have previously been color case hardened, he first anneals them in wood charcoal heated to 1,375 degrees Fahrenheit for a half hour. After cooling overnight, they get the same polish treatment. Lastly, all parts are thoroughly cleaned with acetone.
Now there are two ways to proceed, depending on the goal desired. These are simple: attractiveness or true-to-original colors on vintage restorations. Here there is trial and error. Al feels that the mixture of wood and bone used for packing is a major factor in the process, but not the only one.
He has settled on one part bone to two parts wood for some action types such as leverguns or single shots, but he uses one part bone to four parts wood on Parker or L.C. Smith shotguns. Contributing factors to coloring results include the temperature of the parts when quenched – a sure indication of the parts being too cool is a gray appearance instead of colored. On the other hand, if heated too long they can end up brittle.
At this point in Al’s narrative, I was starting to feel that color case hardening was easy; just grab a furnace, some sort of crucible and order bone/wood mixes from a gunsmith supply company. But Al wasn’t finished by a long stretch.
He emphasized strongly that if you don’t have the ability to “tweak” parts or actions back to original dimensions, then don’t take up coloring case hardening. Actions and parts can be blocked perfectly, but the transition from over 1,300 degrees to less than 50 degrees during quenching is a sudden jolt to steel. Before starting the process, Al takes measurements of all items. Then after the process he measures again, which is where the know-how to “tweak” is necessary.
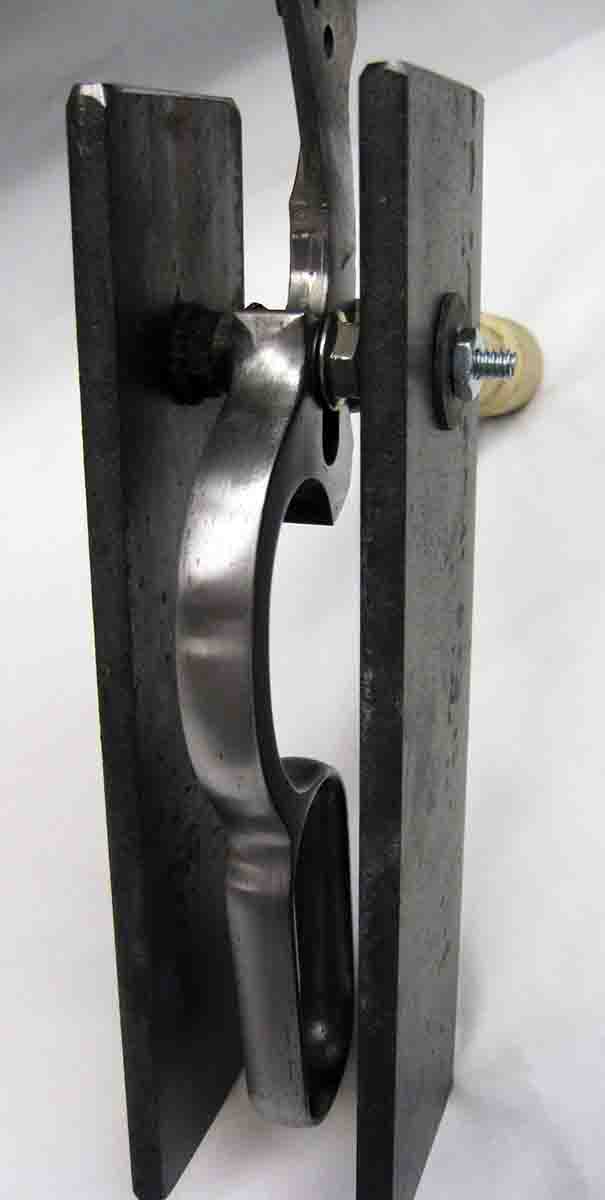
For blocking, Al takes two routes. First, the item is blocked to prevent warping as mentioned in the above paragraph. He puts blocks between the bolt rails on leverguns and also between upper and lower tangs. For box-lock and side-lock shotguns, he uses blocks between the tangs. It is Al’s opinion that blocking can be overdone – too much and the block might warp, and that means the part goes with it.
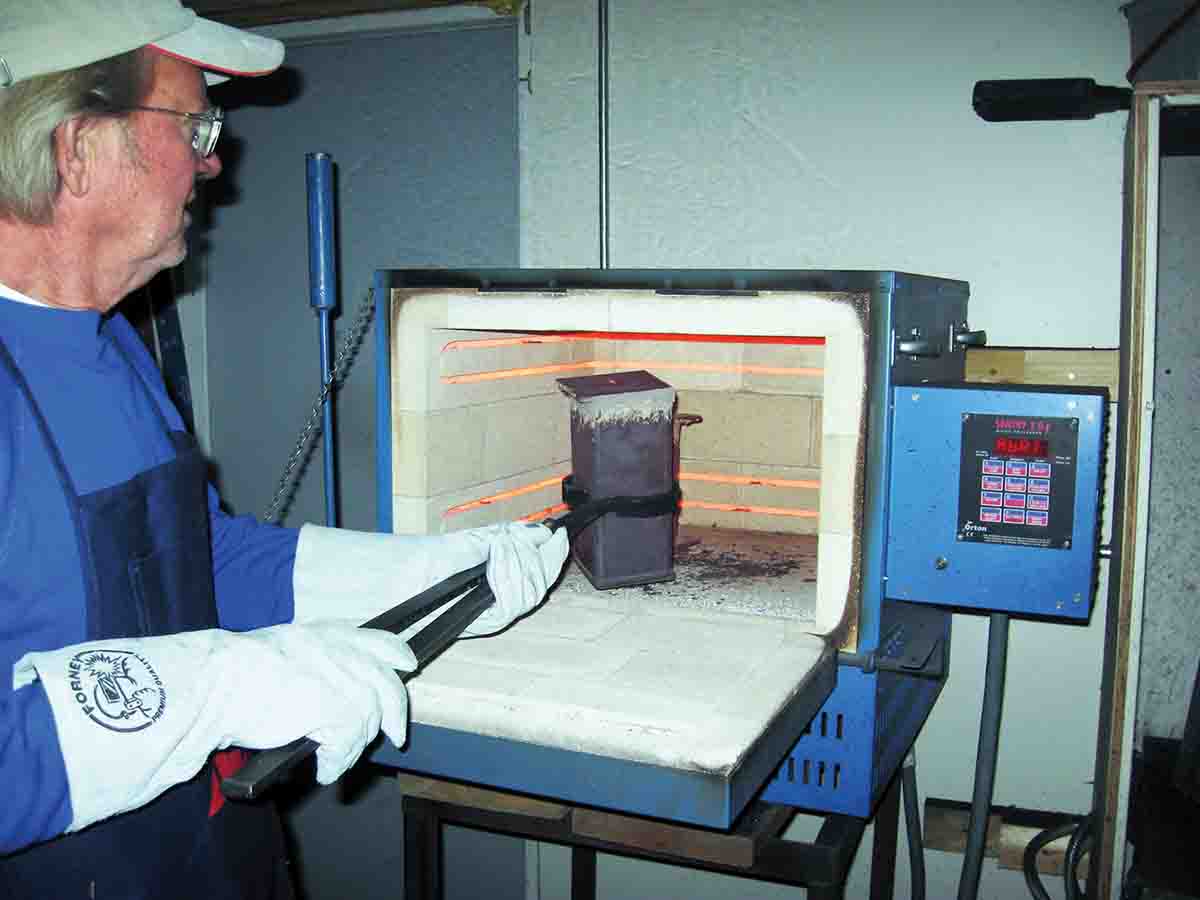
This next factor also surprised me. Al said that even though superheated to 1,375 degrees, smaller steel parts start to cool instantly when moved from the crucible. If allowed to cool very much, colors become milky gray. With larger items such as actions. He feels that 1,300 degrees going in the quench is still acceptable. To help maintain those temperatures, Al blocks every part by placing a .25x2x6-inch piece of strap iron against all four walls of the crucible. He puts a piece of strap on either side of a lever. The purpose of these straps is to prevent parts from cooling between the furnace and quench.
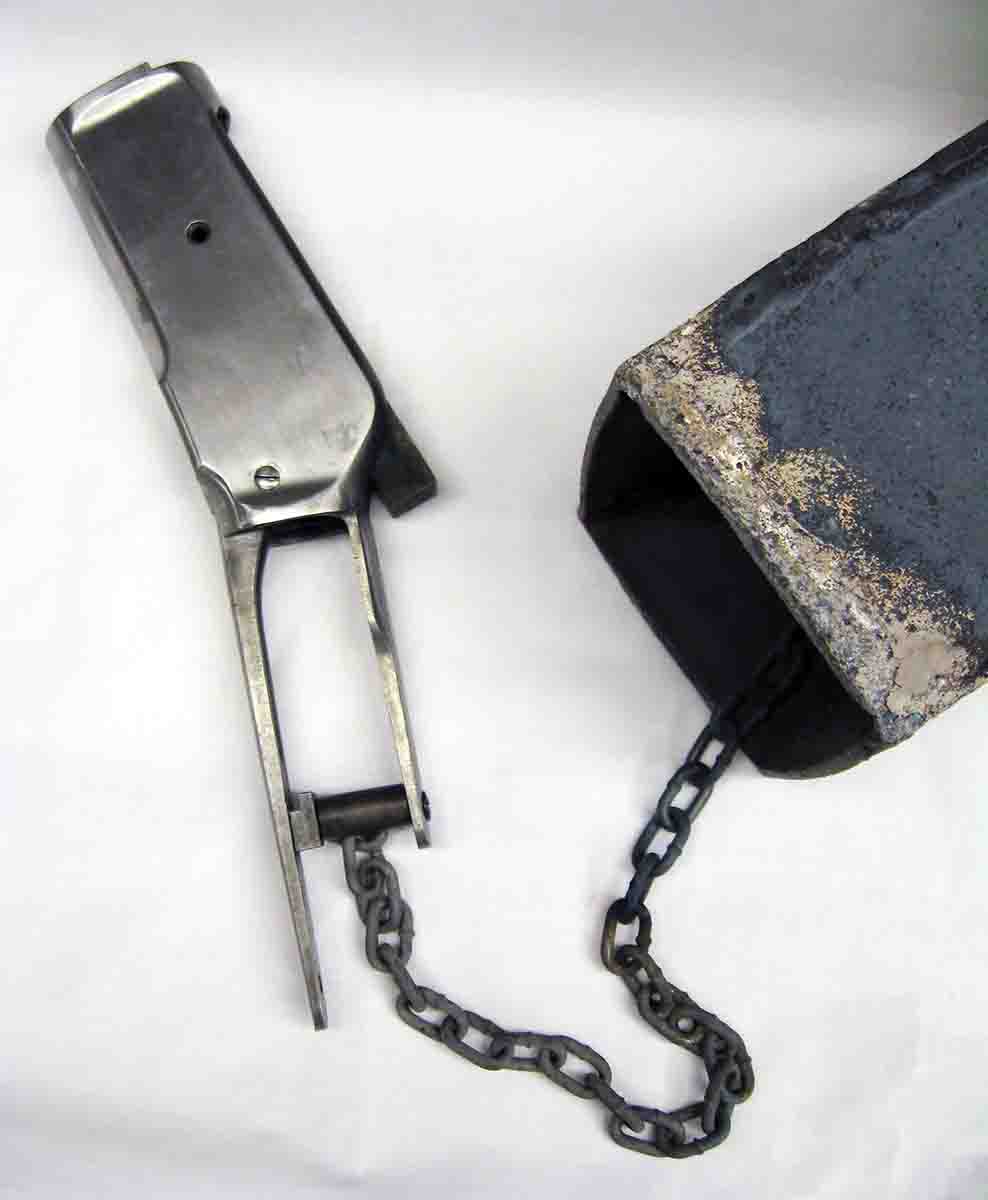
The quench itself is not as simple as dropping the whole shebang into a bucket of water. A 5-gallon container is used for small parts and a 20-gallon container is used for actions, and he only fills them with distilled water. Before parts are quenched, both tanks are aerated for 15 minutes. Al leaves the aeration running for small parts but turns it off prior to quenching actions. He has found that the air running continuously on actions makes microscopic pitting on flat surfaces. Inside the 5-gallon water container, Al has a screen for parts to land on, but with actions he has a chain welded to the inside bottom of the crucible so that the action drops to a predetermined depth. His final operation is to stress relieve all parts and actions.
After visiting with Al and getting his ins and outs of color case hardening, I see why every gunsmith doesn’t offer it as an option. It is definitely an art.