Login


Wolfe Publishing Group
    Menu

    Light Gunsmithing

    H&R Single Shot Project Part II

    The factory forearm anchor is fitted at 90 degrees to the barrel, which can never produce a tight forearm-to-receiver fit.
    The factory forearm anchor is fitted at 90 degrees to the barrel, which can never produce a tight forearm-to-receiver fit.
    In the last column, the receiver of a Harrington and Richardson break-open, single-shot rifle was modified to remove stock looseness common to this model. As many of these rifles were drilled and tapped for scope mounting and had quite good triggers, solid buttstock attachment is needed for best accuracy.

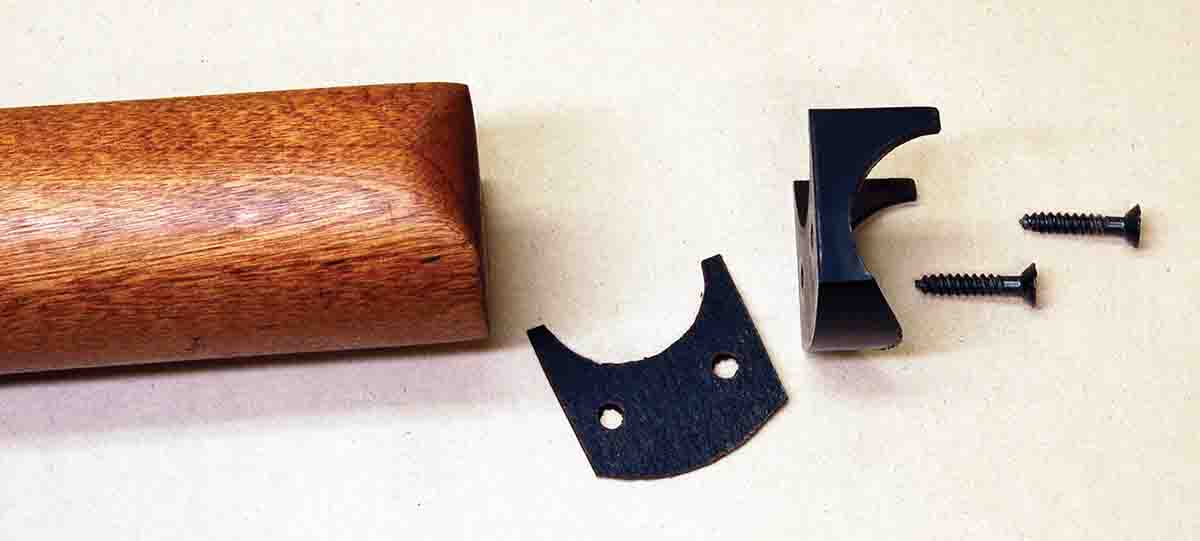
    Here we modify the forearm attachment which, like the buttstock, was designed to keep manufacturing cost low. H&R simply silver soldered a piece of round rod (post) onto the barrel at 90 degrees to the bore axis. A 1⁄4x28 tpi hole passed through the rod lengthwise. These posts varied somewhat in diameter and occasionally were larger at the solder joint. Shown in a photo is a straight, .375-inch diameter post. A hole is drilled in the forearm, and a countersunk screw is used to attach the forearm to the barrel.

    Anyone familiar with break-open guns knows the forearm wood attaches to the front, or “knuckle” of the action via a part known as the “forearm iron.” However, in this case it’s not metal at all but a synthetic material such as nylon or acetal. Contacting surfaces are semicircular so the barrel can rotate down when the rifle is opened for loading.

    To tighten the forearm, a piece of half-inch mild steel plate is cut first and a hole drilled in its center to just slip-fit over the factory anchor.
    To tighten the forearm, a piece of half-inch mild steel plate is cut first and a hole drilled in its center to just slip-fit over the factory anchor.

    With the action closed, if the forearm is either removed or reinstalled, it will scribe an arc because of the semicircular forearm iron. There is no way a forearm moving in an arc can fit over a vertical post on the barrel and maintain a tight fit to the receiver. Since position of the attaching screw is fixed, the best that can be done is to enlarge the hole in the forearm until it fits over the post and sits down on the barrel.

    The rear of the new anchor block (toward receiver) is tapered 10 degrees to allow the forearm to sit properly on the barrel.
    The rear of the new anchor block (toward receiver) is tapered 10 degrees to allow the forearm to sit properly on the barrel.
    Unfortunately, recoil transferred to the forearm by the shooter’s forward hand is not taken up by the post but by the forearm-attaching screw, which can bend the post forward and cause the solder joint to fail. While I do not recall resoldering the post on a rifle, several have been repaired on 12- and 16-gauge shotguns. Just as important to many shooters is that when the action is opened, most barrels are now loose enough at the hinge to rattle like a rock in a bucket. All these problems can be eliminated by soldering a steel block to the barrel, allowing the forearm to fit correctly.

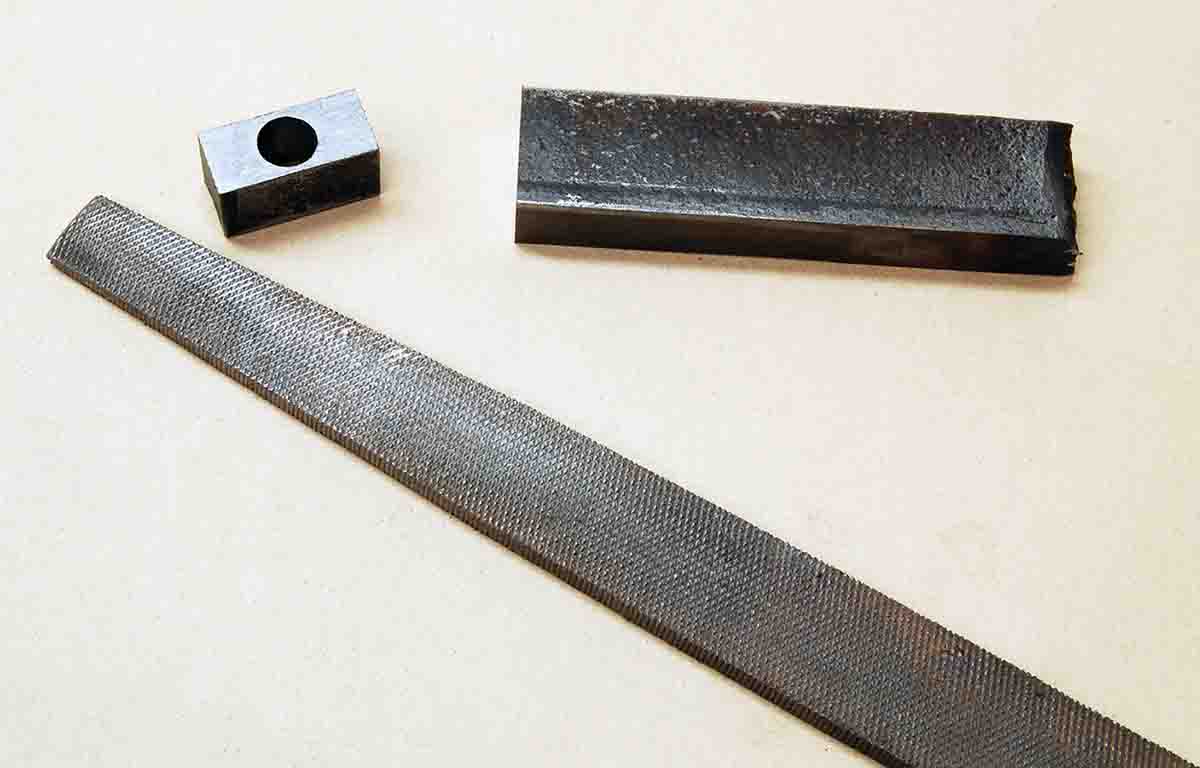
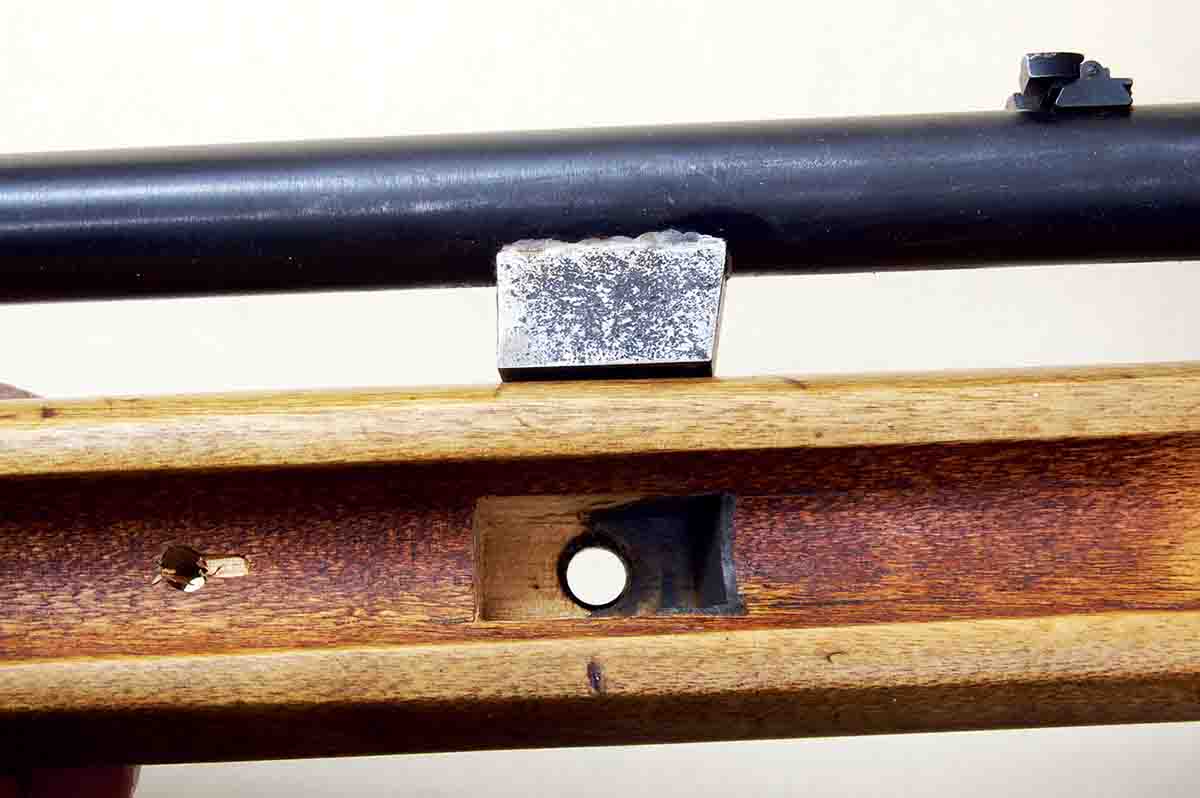
    Begin with a small piece of half-inch-thick cold-rolled steel plate. This is cut and filed to a length of about one inch (not critical) and a width equal to the height of the post on the barrel. All surfaces must be as square to the cold-rolled faces as possible. Now turn the half-inch edge up and drill a hole of the same diameter as the post down through the center of the block.

    The bottom of the new forearm anchor is filed to fit the curvature of the barrel. The better the fit, the stronger the solder joint.
    The bottom of the new forearm anchor is filed to fit the curvature of the barrel. The better the fit, the stronger the solder joint.

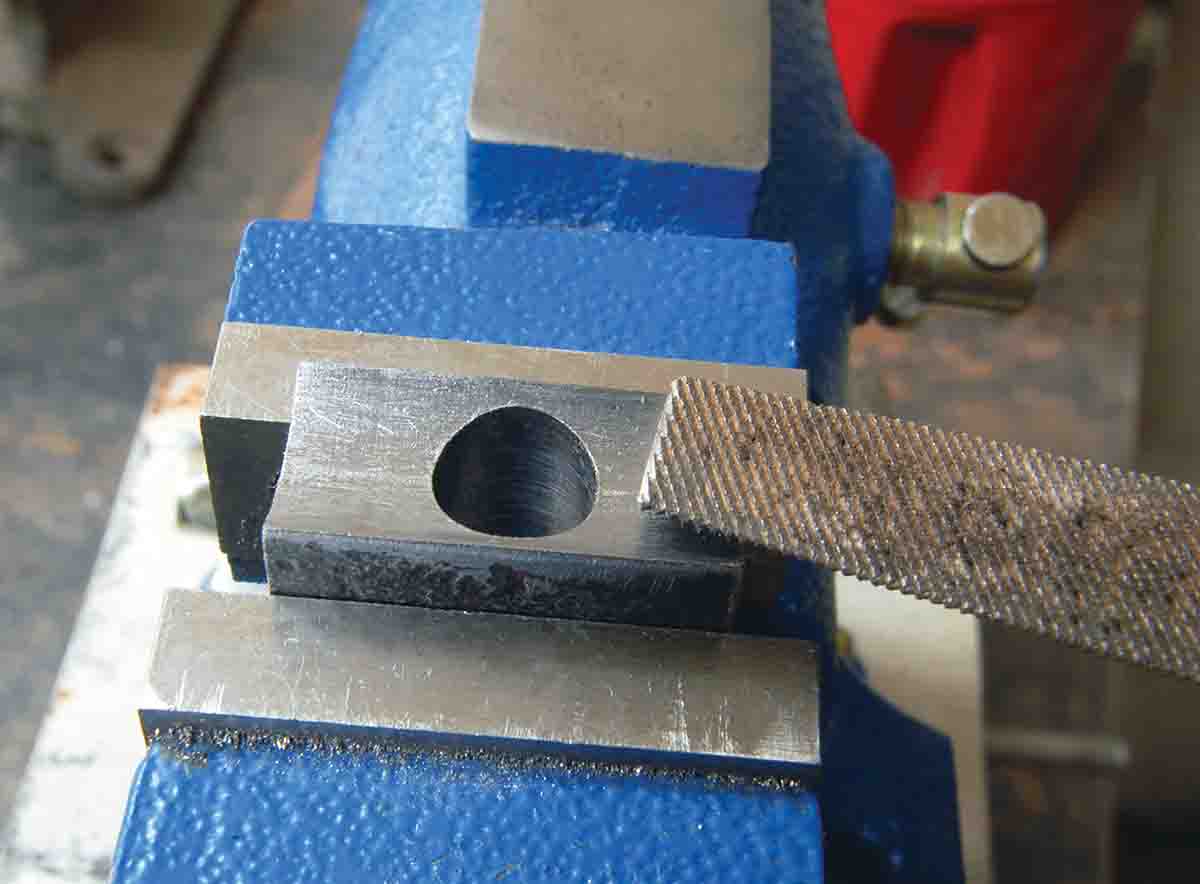
    The newly drilled block is now dropped over the post. Note the bottom of the block is flat, and the barrel is round. The block must be reshaped with a half-round file until it matches the barrel. Take the time to get this as close as possible because the better the fit, the stronger the solder joint.

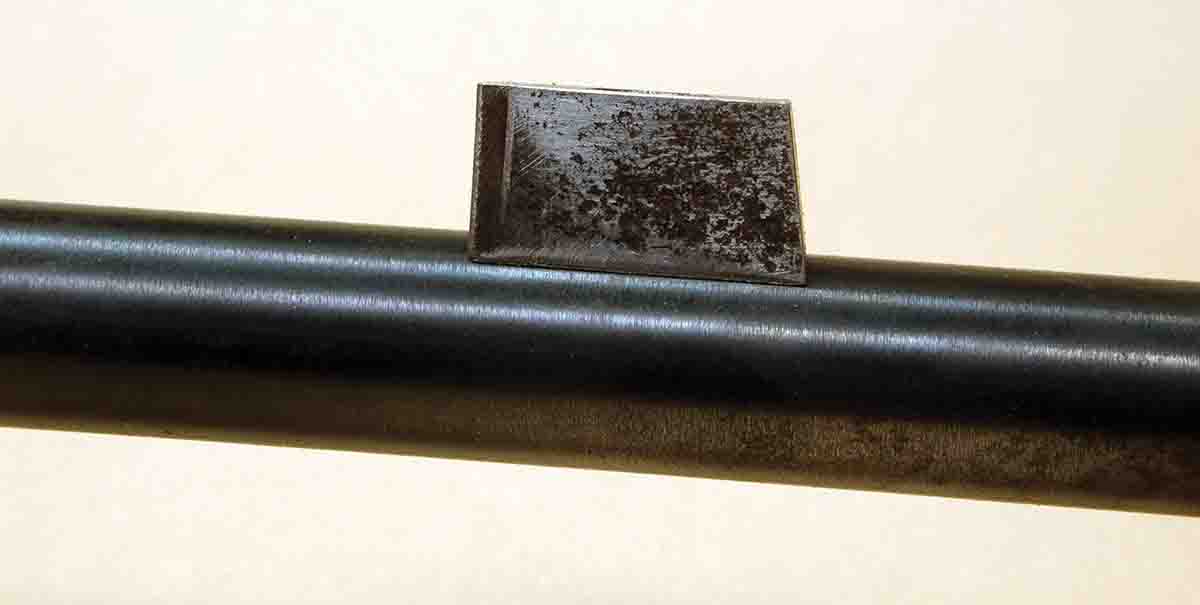
    Now for the most important part: Remember, the forearm moves in an arc as it is pushed down into place on the barrel. If the rear surface (toward the breech end of the barrel) of the new block remains at a right angle to the barrel, the forearm can fit no better than it did on the original post. If, however, the rear surface is angled forward 10 degrees (about .1 inch), the arc of the forearm is compensated for. The forearm can now be fit solidly to the block. This is exactly the method used on 99 percent of all break-open guns ever made.

    The block is soft soldered using Brownells’ Hi-Force 44 solder.
    The block is soft soldered using Brownells’ Hi-Force 44 solder.
    Attaching the block to the barrel comes next and is done by soft soldering. I use Brownells’ Hi-Force 44 solder for such jobs because it offers plenty of strength yet melts at about 500 degrees, far below the silver solder holding the original post.

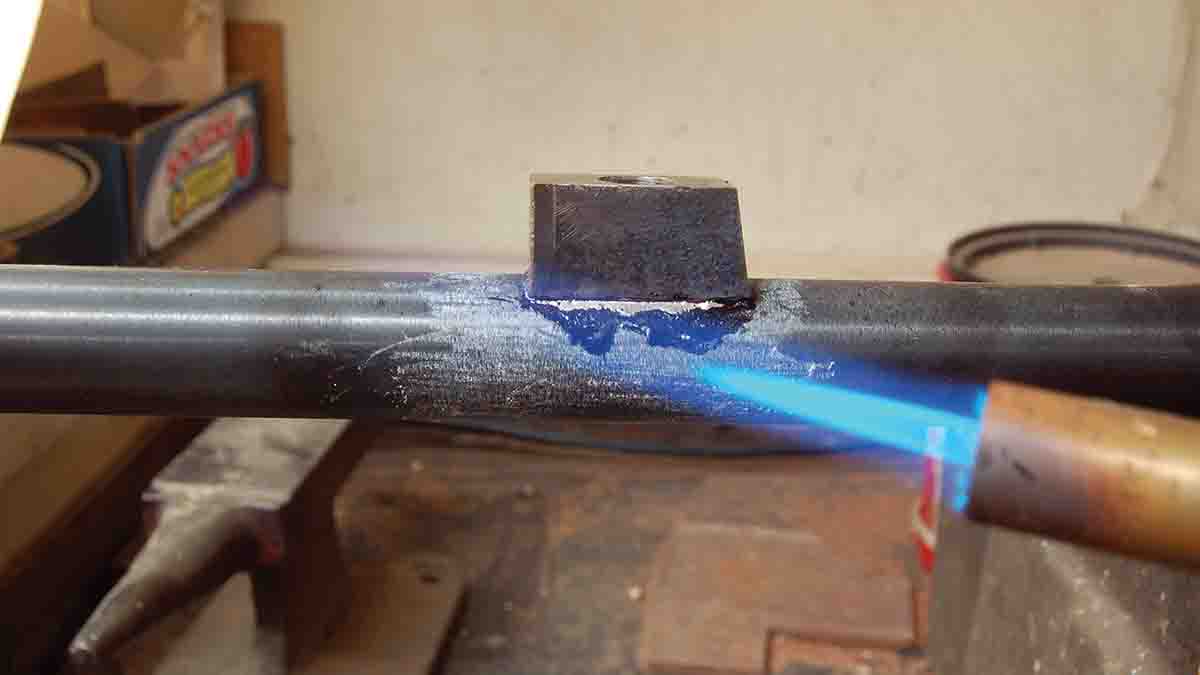
    Soldering steel was covered in this column in Rifle No. 235 and is very easy if the proper solder and matching flux are used. Cleaning the metal surface is very important. If the newly made block was just fit to the barrel contour, that surface is clean. Drop the block over the barrel post, trace around it where it touches the barrel and gently file through the blued surface down to clean metal. Scratching up the surrounding bluing with soapstone or welder’s chalk will prevent flux or solder from damaging bluing.

    Inlet the stock for the new anchor block with a chisel.
    Inlet the stock for the new anchor block with a chisel.

    Heat the block first because it is small and heats quickly. Apply a small amount of flux with a toothpick to just cover the area to be joined. Melt a very thin coat of solder on this surface. Remember, never point the flame at the surface to be

    The epoxy bedded anchor block fits perfectly.
    The epoxy bedded anchor block fits perfectly.
    joined; always apply heat to surrounding areas. Remove the flame and let the hot metal melt the solder. Now do the same to the barrel, as it will take a lot longer to heat up. When solder coats the surface to be joined on the barrel, drop the block over the post (tapered surface to breech end) and heat the barrel until the solder flows again. Push down on the block with a gloved finger to seat it firmly on the barrel while setting the torch down, pointing in a direction that won’t set fire to the shop. Any excess solder that pushes out of the joint can be flicked off with a rag before it hardens.

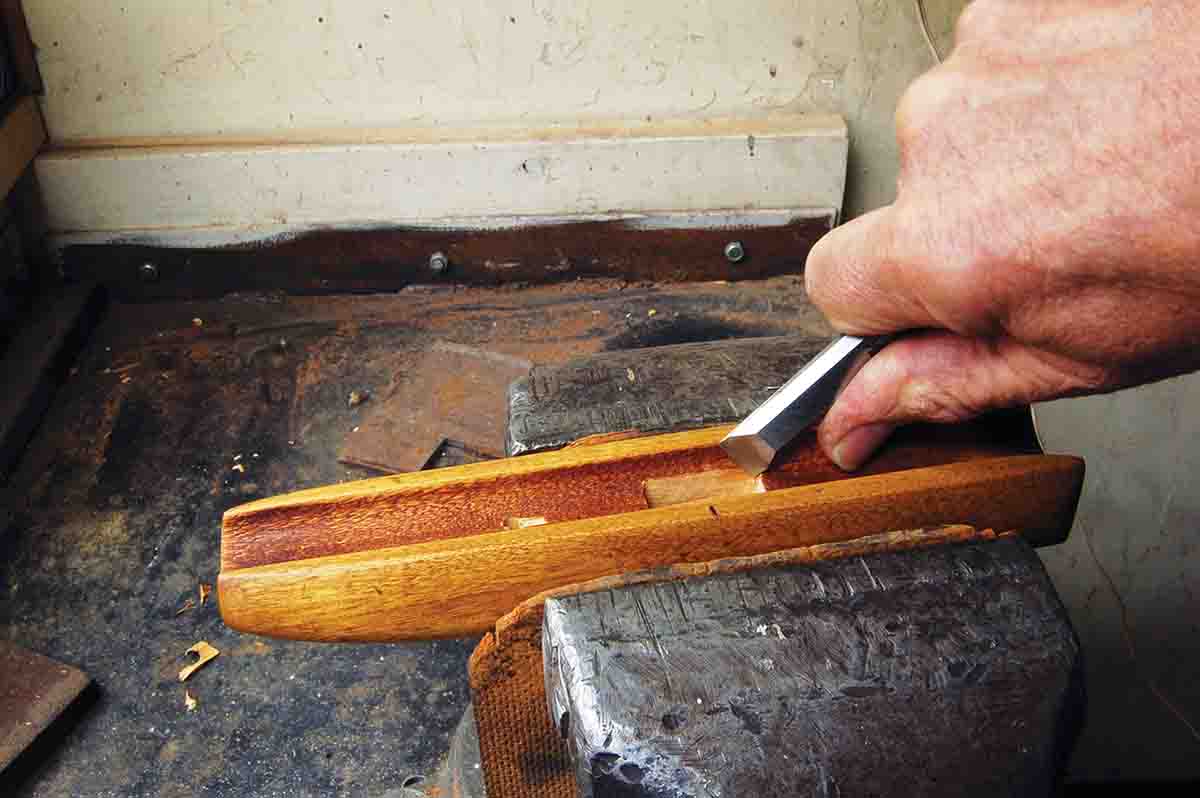
    Inletting the forearm wood comes next. Do this by cutting a half-inch-wide slot just long enough and deep enough to allow the forearm to swing into place, and the attaching screw will tighten easily. Note that nothing has been done to accommodate the

    Any barrel looseness when the action is open can be easily removed by adding a thin paper shim between the forearm and synthetic forearm “iron.”
    Any barrel looseness when the action is open can be easily removed by adding a thin paper shim between the forearm and synthetic forearm “iron.”
    tapered rear of the new block. It will be fit perfectly using epoxy bedding compound, but only to contact the tapered portion shown in a photo. Remember, the forearm swings down onto the barrel in an arc. If epoxy squeezes into the front of the cavity, it will bear against the vertical front of the block, preventing it from moving up off the barrel. The forearm attaching screw will no longer be needed! A couple of applications of epoxy may be required to get 100 percent rear contact.

    Stevens (left) and Remington Rolling Block (center) rifles show the project H&R (right) to have early 1900s-period styling.
    Stevens (left) and Remington Rolling Block (center) rifles show the project H&R (right) to have early 1900s-period styling.
    Alert people will now be thinking that since the location of the forearm screw has not changed, the barrel will still be loose on the receiver when the action is open. This is true, but now there’s a perfectly fitted flat surface for the forearm to bear against. Looseness can now be eliminated by simply cutting a paper shim or two to fit between the synthetic forearm “iron” and wood. Go easy here. Two or maybe three thicknesses of copier paper will be a lot. We are only trying to eliminate the rattle-fit of these guns, not require two hands and a foot to pry the forearm off or open the action.

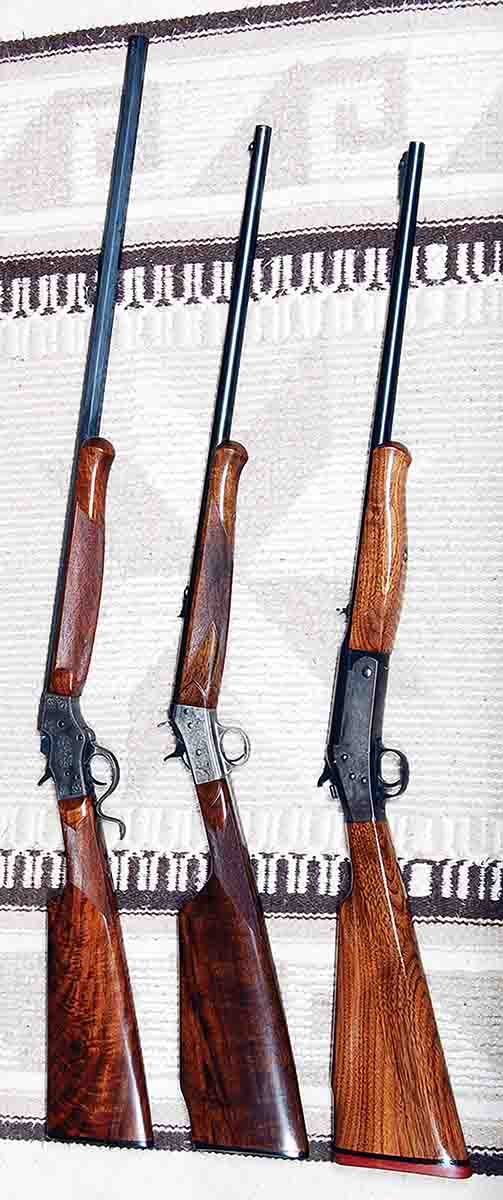
    Since a new stock was made for this rifle in the last column, a forearm was included. A complete rifle is shown, though it’s not yet checkered. Now tight and solid, when a 4x scope is attached some handload combinations will provide five-shot groups of 1.25 inches at 100 yards – interesting entertainment for anyone who likes single-shot rifles in all their varieties.

    Wolfe Publishing Group