
Light Gunsmithing
Annoying Traits
column By: Gil Sengel | July, 22
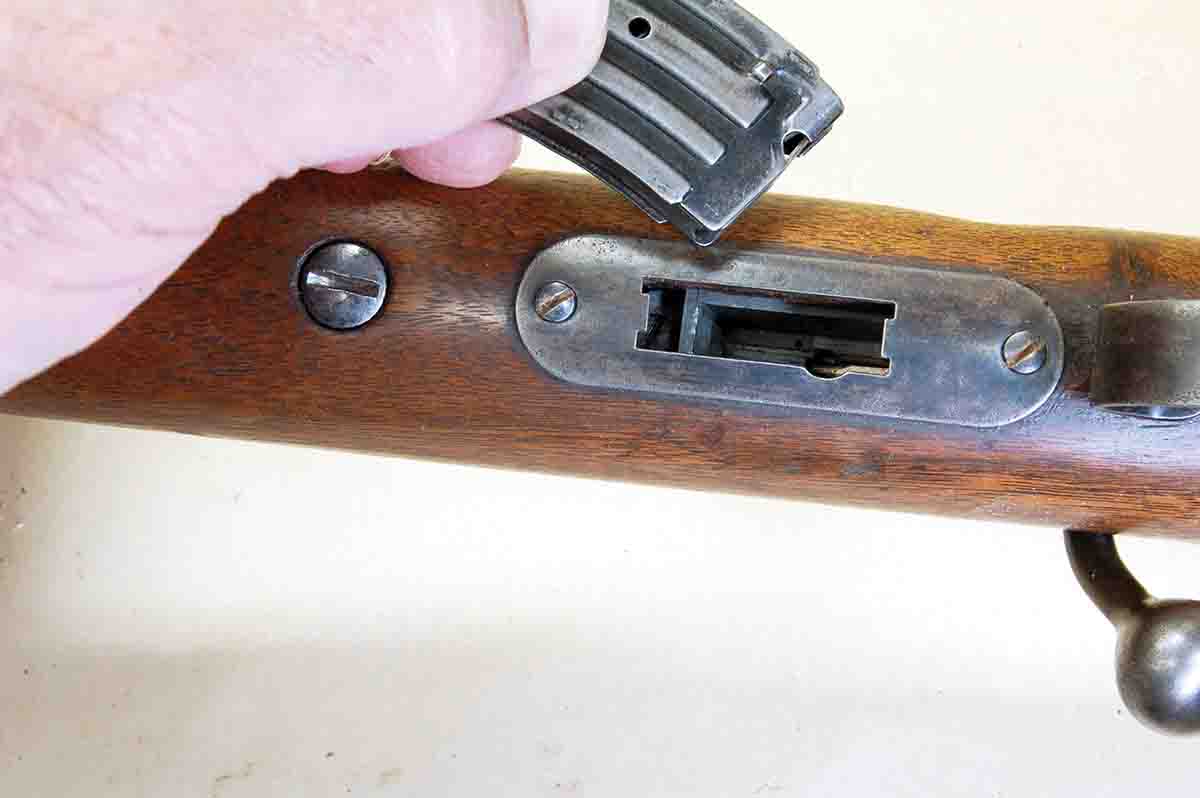
The sheet metal magazine plate on the Winchester M69A looks like it would guide the magazine into place, but it doesn’t.
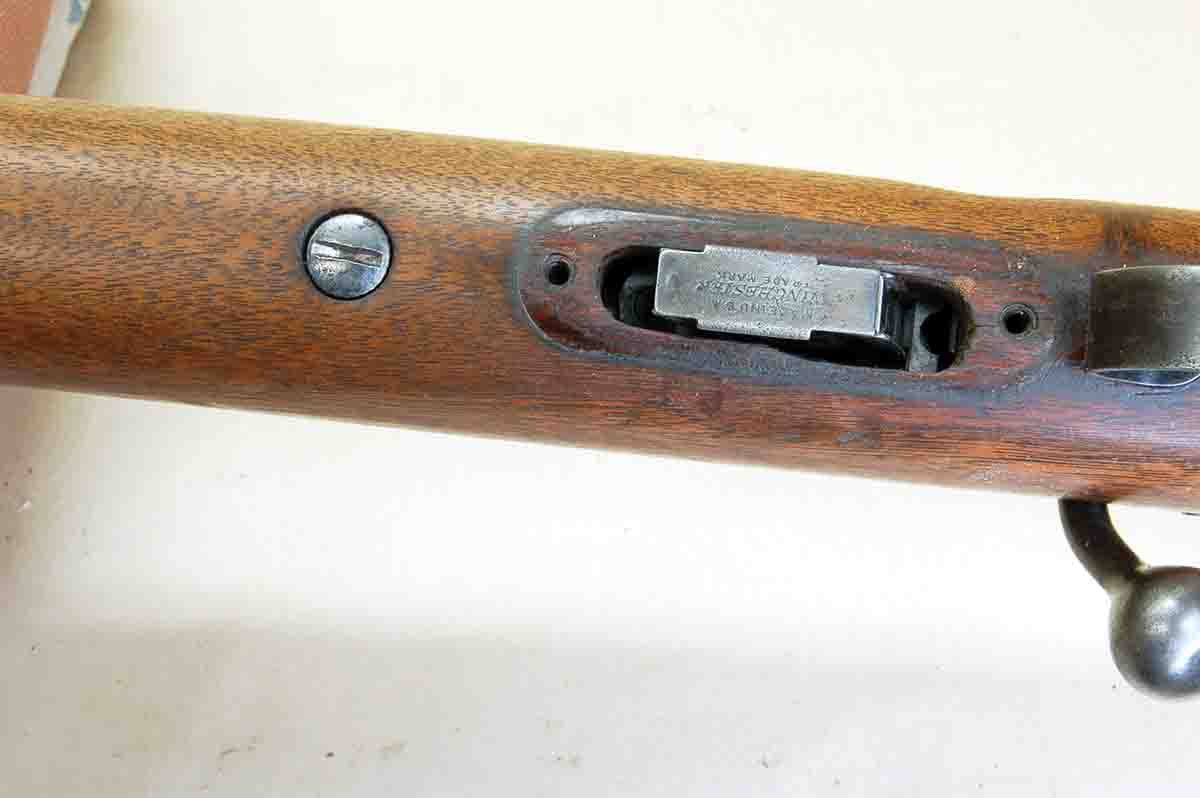
With the magazine plate removed, the huge voids in the inletting that prevent magazine guidance when seating are obvious.
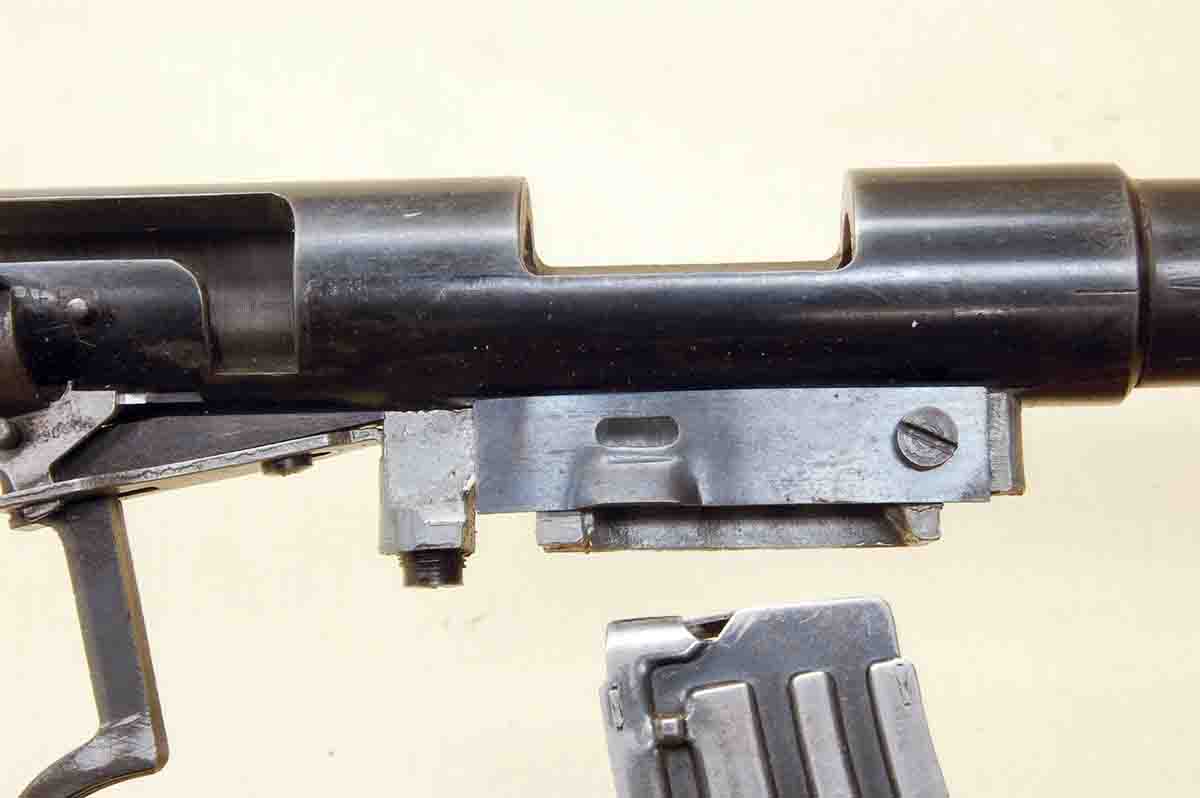
A cast aluminum piece with a flat spring locks the magazine in place, but it is .625 inch too short.
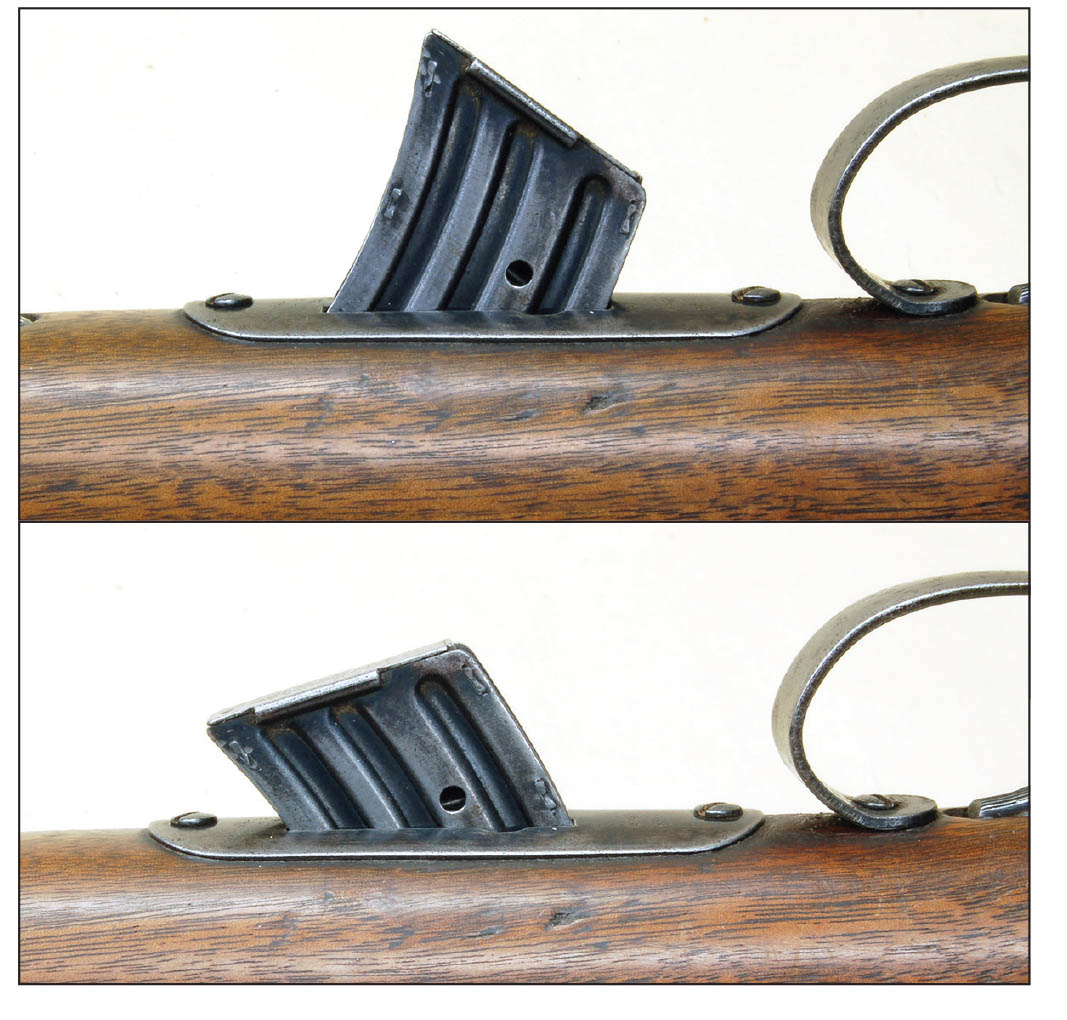
The floorplate of the magazine should be parallel with the bottom line of the stock for proper alignment with the lock. The top photo shows the misalignment that is possible before correcting the inletting. The bottom photo shows the magazine pushed forward.
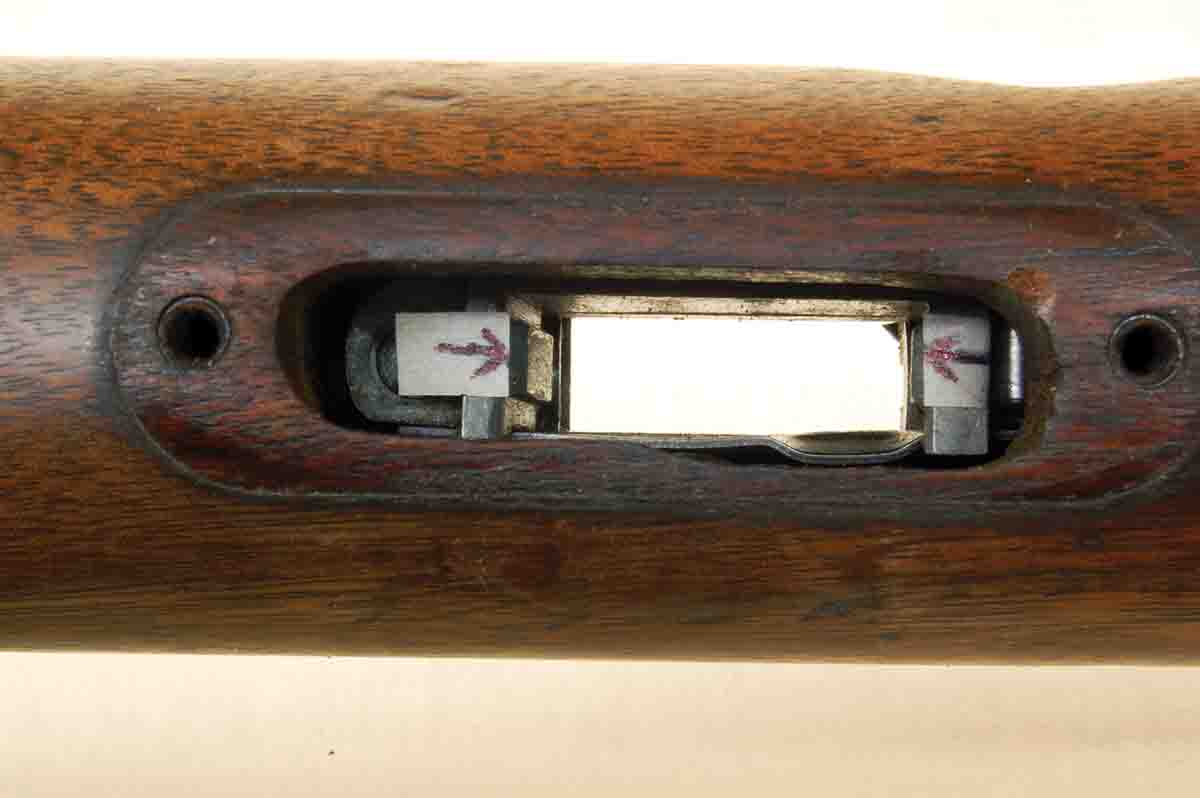
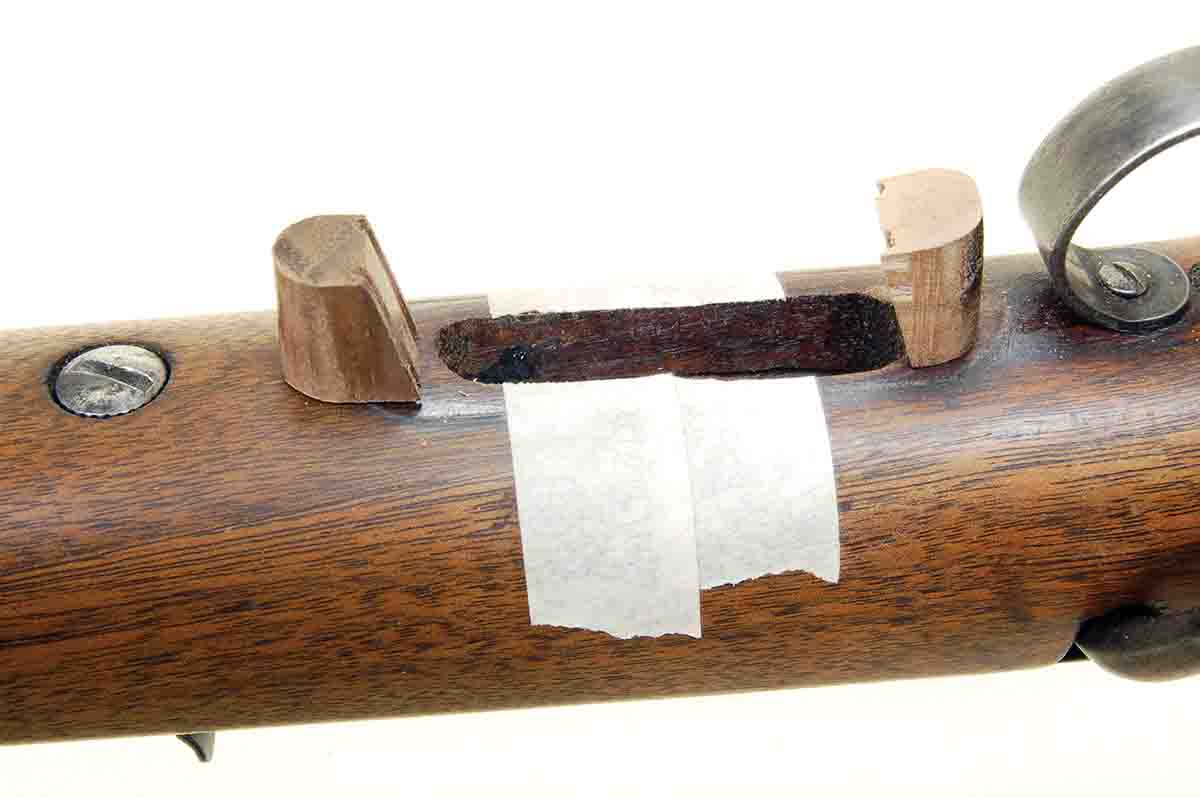
The arrows show the inside edges of the magazine lock, where wood fillers will end.
Rifles chambered for the .22 rimfire have always enjoyed brisk sales, thus competition is intense. Any idea that could cut production costs was thoroughly explored. Even the slightest reduction in cost meant more sales. One way this was done was to eliminate hand-fitting on the little .22 stocks. This required removing more wood than necessary in the inletting. So much wood was removed in some rifles that it appears that the stock would fit more than one model. The point is that many wood-stocked .22 rimfire rifles, using detachable magazines and made until at least the 1970s, have too much wood removed under the receiver.
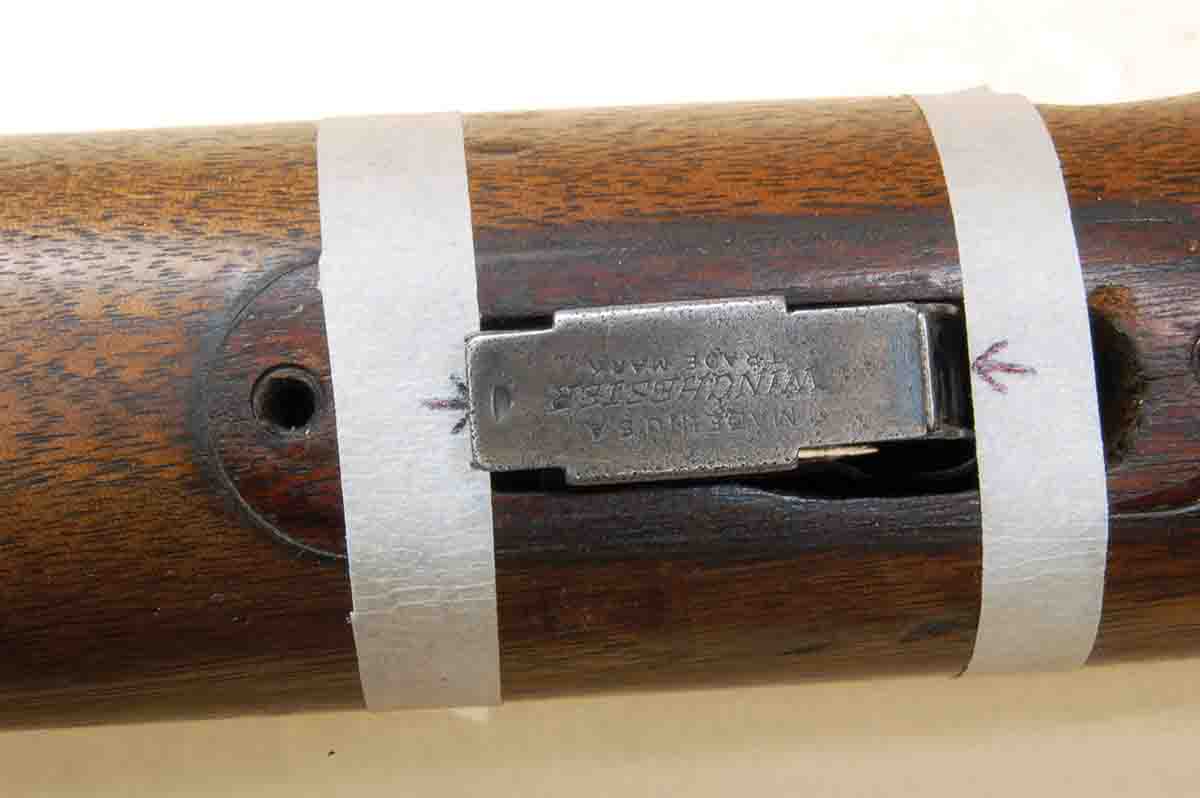
The tape indicates where wood filler pieces, front and rear, end against the magazine.
Since excessive removable wood can’t be seen with the rifle assembled, what difference does it make? Answer: A lot of difference if the wood is missing in the area where the magazine attaches! The clip then has no guidance to align it with its locking surface on the bottom of the receiver. It simply slides around in the stock recess until it falls into place. Any attempt to force it into place by applying excessive pressure will just damage the feed rails.
The worst offenders here are the Winchester M69, M69A, M75 Target and M75 Sporter. These all have the magazine release button on the side of the stock. The great M52 is not included because it has steel guides in the front and rear of the magazine recess. Most Remington’s have a thumb-operated, flat-spring, magazine latch located at the rear of the magazine recess which acts as a guide. The front and rear of the recess are, however, often very rough and are improved by a little smoothing with abrasive paper if the clip tends not seat too smoothly. Several other inexpensive rimfires using detachable magazines have inletting similar to the Winchesters.
Fortunately, the problem is easy to solve. Filler blocks are made to fit the excess space in front and back of the magazine recess. These are then epoxied in place. Photos show the size of these cavities, the amount of magazine misalignment possible before filling them and the appearance with new wood in place.
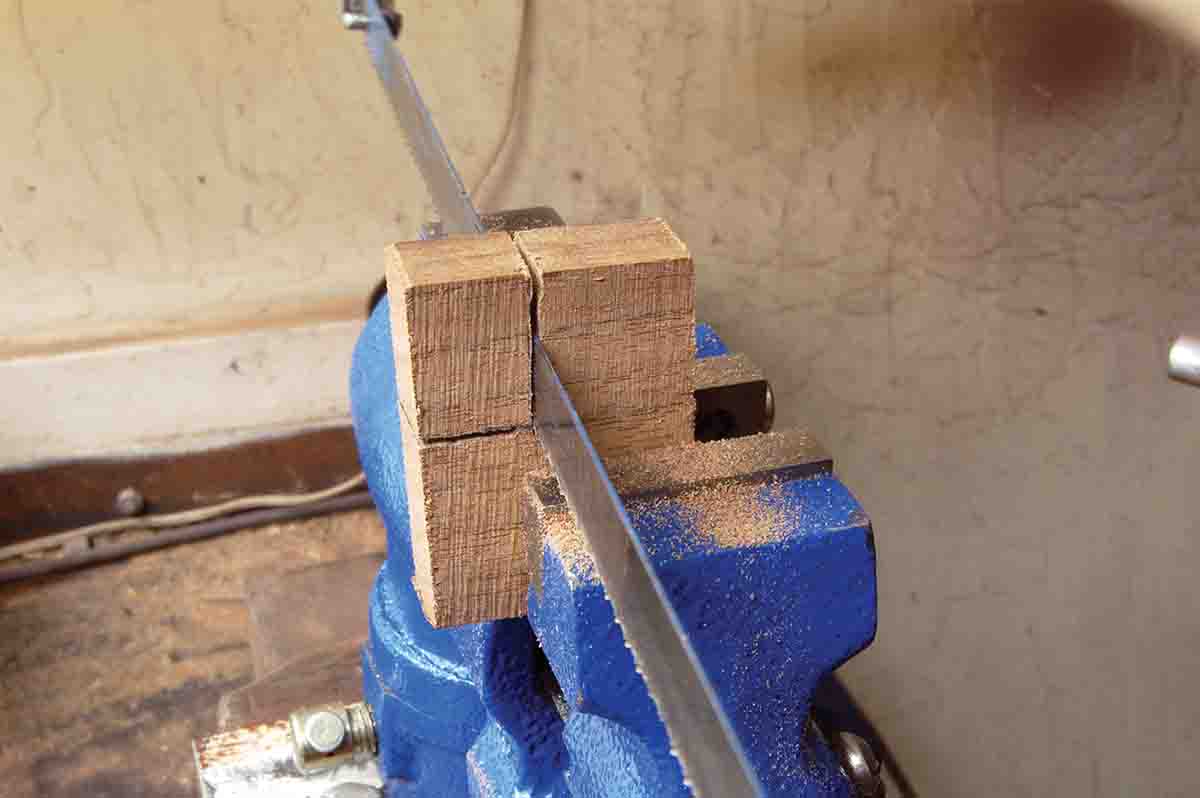
Wood filler pieces are cut from walnut scraps.
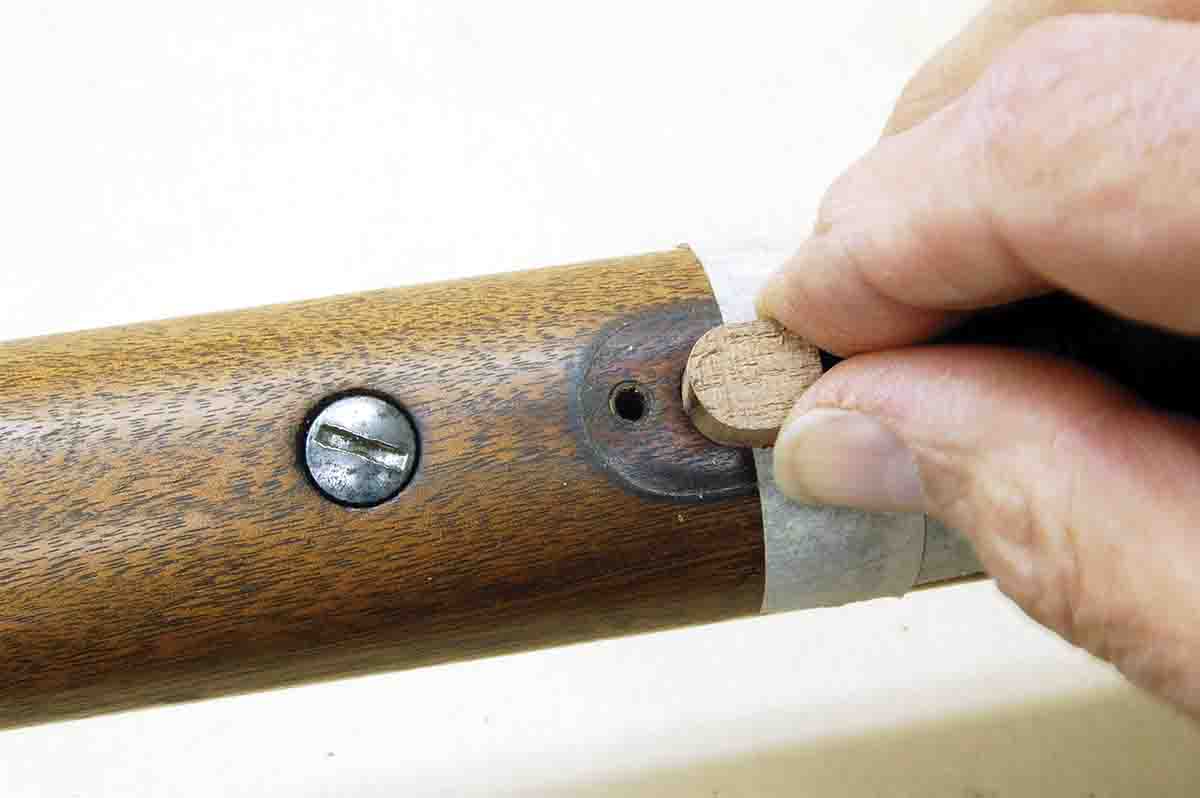
The front filler block is beginning to fit its recess.
Fillers are held in place by a clip magazine while the epoxy cures.
The filler pieces are completely fit to their recesses before they are epoxied into place. At first glance, it may appear easier to glue one slightly oversized block in permanently, fit the magazine then put in the other block and repeat. This, however, would require removing the barreled action from the stock each time wood was cut from the magazine recess, then reinstalling it to check magazine fit. Too much time would be wasted. Of course, if a bit too much wood is removed from a loose filler block, a new one can be quickly made; not so easy if it’s epoxied in place. A very light coat of spotting compound (light oil) on the clip makes the job go faster.

Filler blocks are here complete and ready for epoxy.
Be certain to apply a release agent (paste wax) to any part of the magazine retainer assembly and the magazine that could conceivably be touched by epoxy. This is really just a precaution because such a small amount of epoxy is needed. It is also a good idea to wipe the contact surface of the stock and filler block with a powerful degreaser like acetone to help the epoxy adhere. Actually, any glue will adhere better if the wood is degreased and acetone is cheap.
Some may say that one of the “super glues” would be ideal for this application. That would be true if the glue adhered to wood, but many will not. Some will release if the joint receives a sharp jolt. Been there, done that. If one can be found that is recommended for wood, by all means use it, but still use release agent!
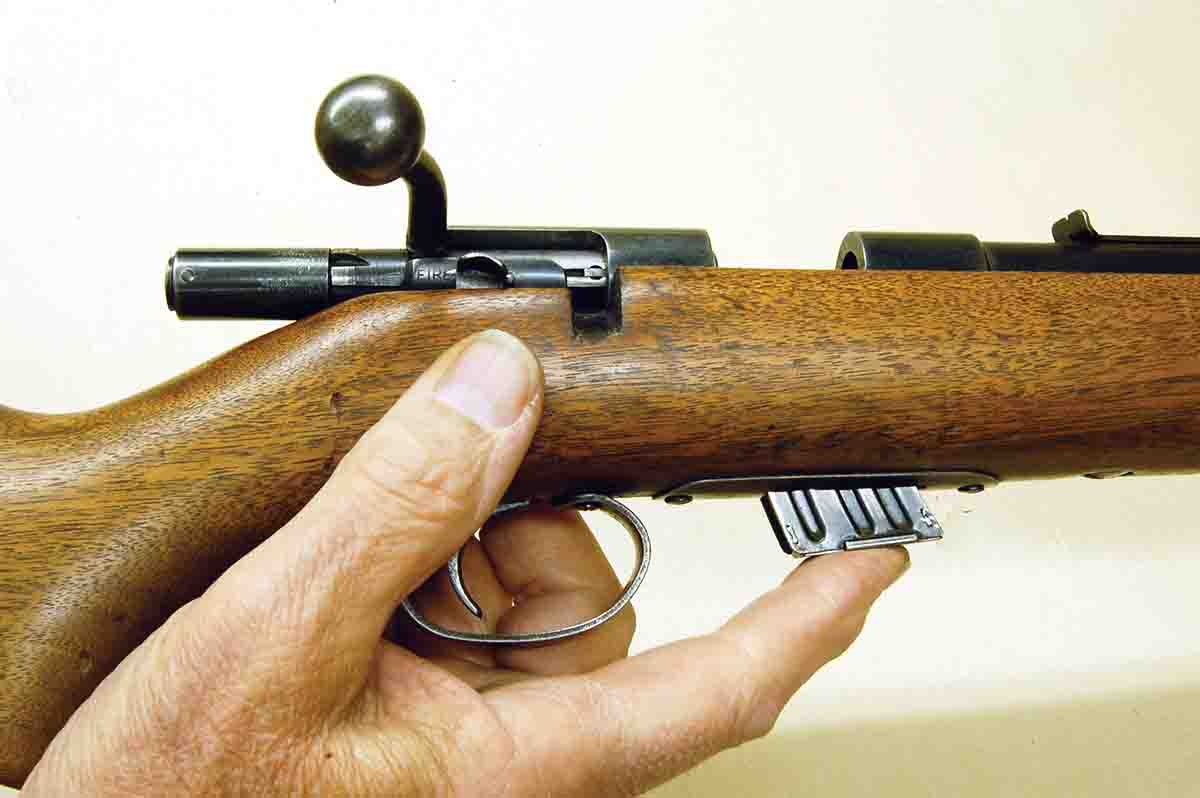
The final result. The magazine can be pushed into place using only one finger.