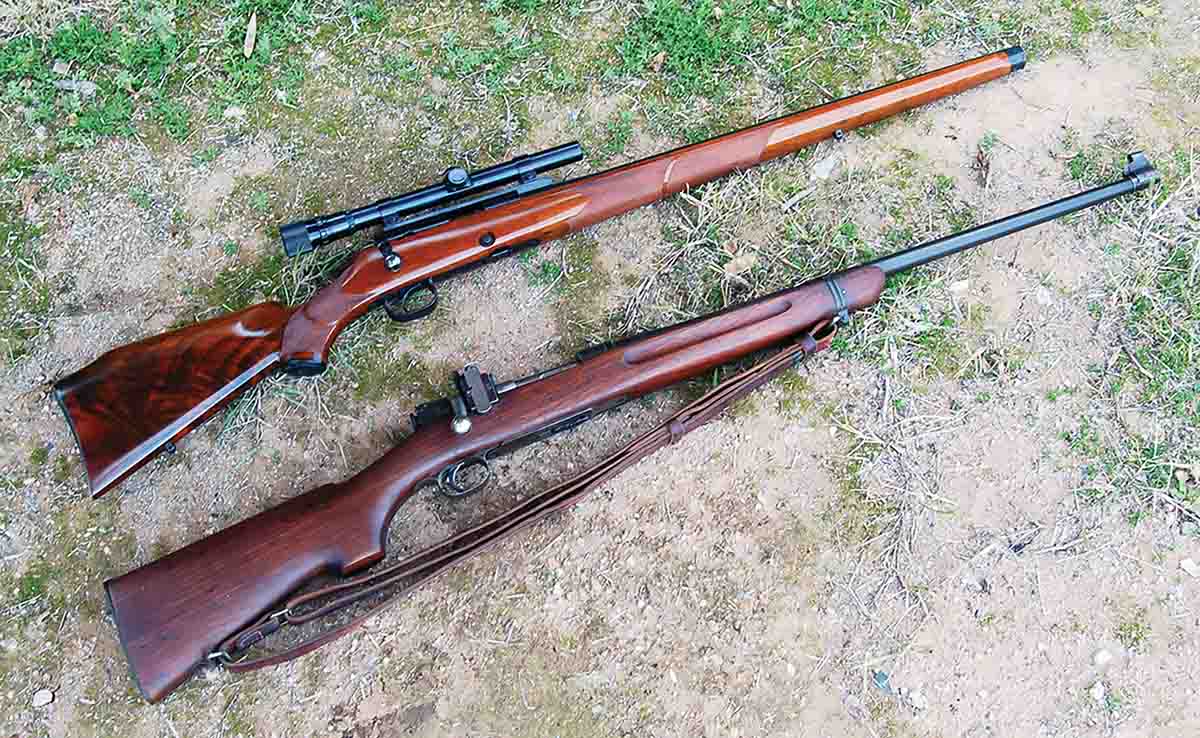
Custom sporters were made from Model 52C target rifles (top). The only other high-quality 22 rimfire sporter at the time was the Springfield Model 1922 (bottom).
This column will wrap-up coverage of Winchester’s amazing Model 52 rifle. In the last edition of
Rifle, we left off at the operation that has driven many owners of Model 52Cs to tears – removal and replacement of the breechbolt. The reason is that 95 percent of 22 rimfire bolt guns require only pulling back on the trigger to allow the bolt to slide out. Model 52Cs don’t work that way. The other five percent use a lever or button to release the bolt. A Model 52C doesn’t work that way either.
Compounding the problem is that few owners today are old enough to have purchased the rifles new. Factory instructions included in the box with the rifle are long gone. Of course, few people clean their 22 rimfires anymore, so there is no reason to remove the bolt – until there is.
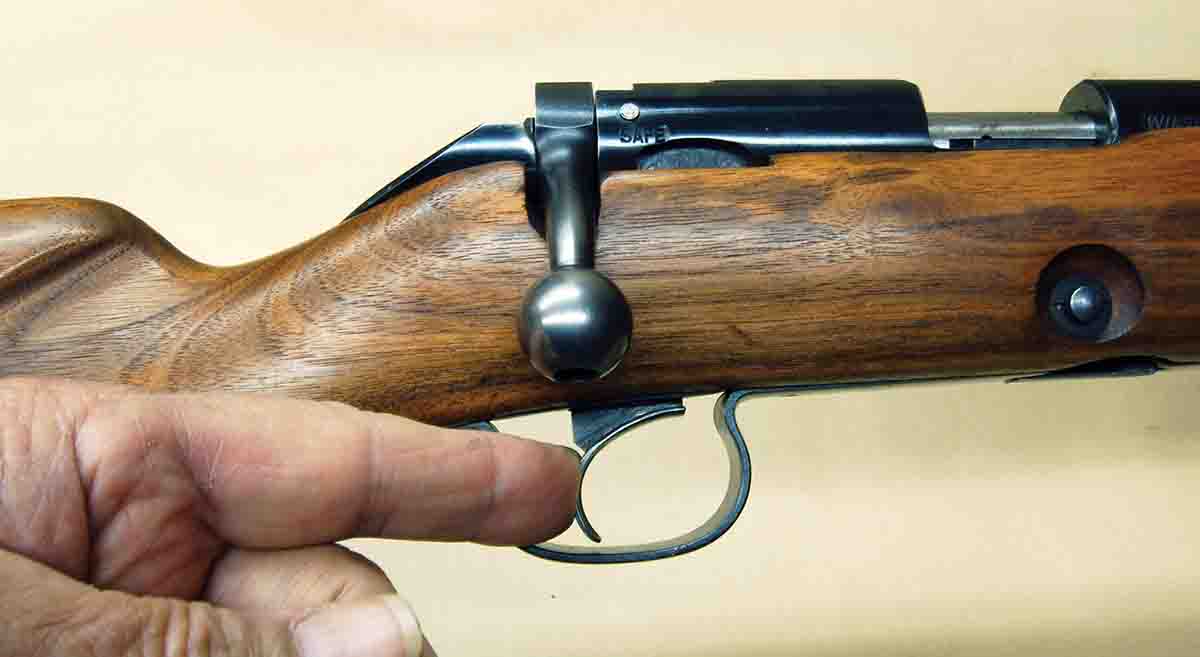
To remove the bolt from the Model 52C, start with the action in the fired position, then push forward on the trigger.
It is tempting to say that bolt removal is easy once the operation is explained, but it isn’t. This is the fault of the four-lever, micro-motion trigger that will fire the rifle with no detectable movement (if set properly). Therefore, it is obvious that simply pulling the trigger cannot directly affect the movement of the sear, which also serves as the bolt stop. Winchester engineers solved the problem with a thin “finger” on the sear that reaches down to almost touch the top of the trigger. The space between the two is only a few thousandths of an inch, indicating hand-fitting when the trigger was assembled.
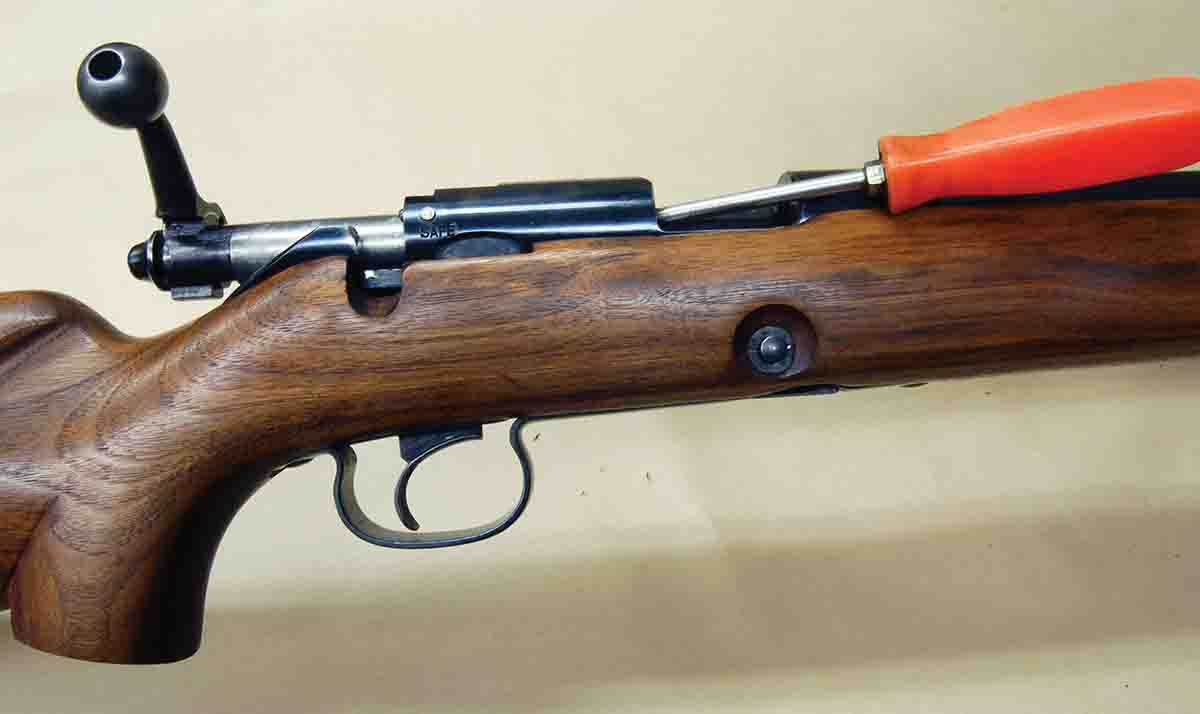
To reinstall the bolt, begin by holding down the sear/bolt stop using a screwdriver blade. This is complicated.
To remove the bolt, the action is placed in the fired position with the bolt handle down firmly. The gun should be held firmly in a rifle-cleaning vise for this and when reinstalling the bolt. Now, place the index finger behind the trigger as shown in the photo and push forward. Because of the location of the trigger and sear pivot points, the trigger now bears against the previously mentioned finger on the sear and holds the sear down in the fired position. The bolt handle is now raised and the bolt slid rearward out of the receiver.
At least this is the way it is supposed to work. Pulling back on the bolt often only results in the bolt striking the sear. It is necessary to slowly repeat the process, applying a little more finger pressure to push the trigger forward – and holding that pressure until the bolt clears the receiver. This will work, believe me.
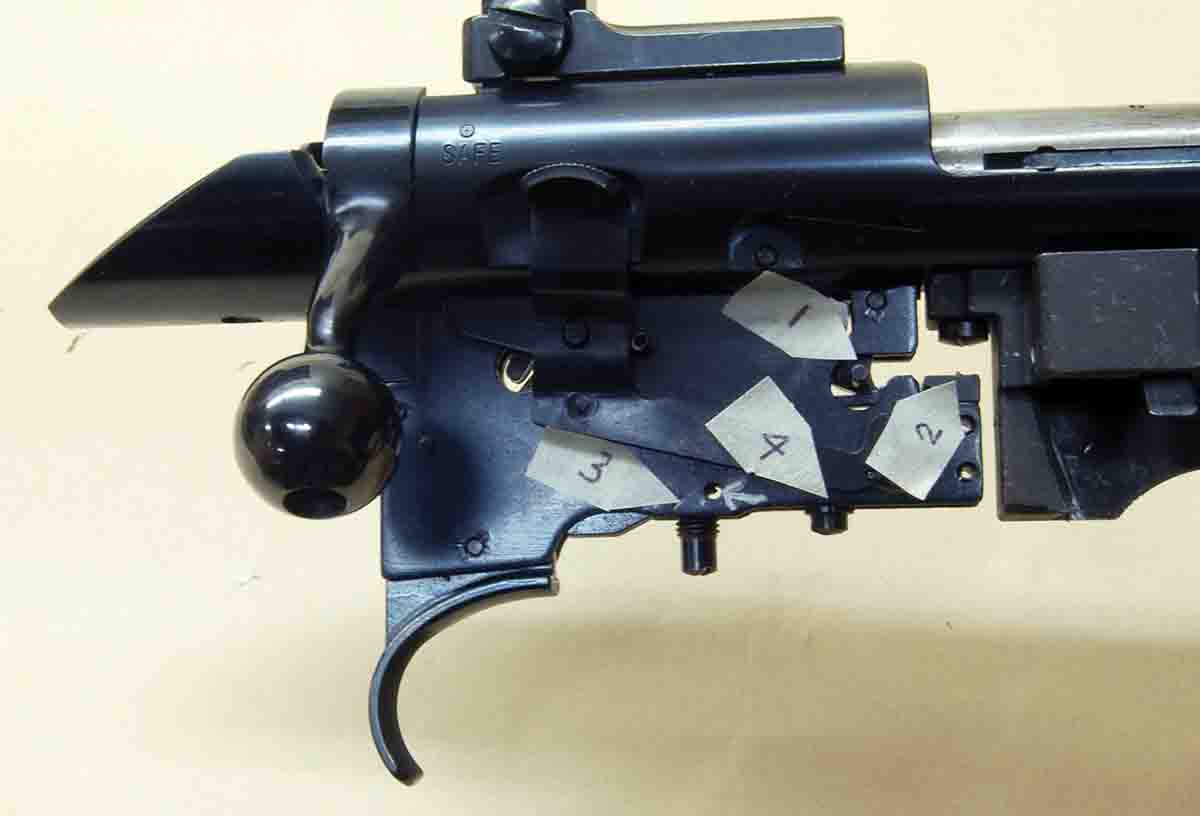
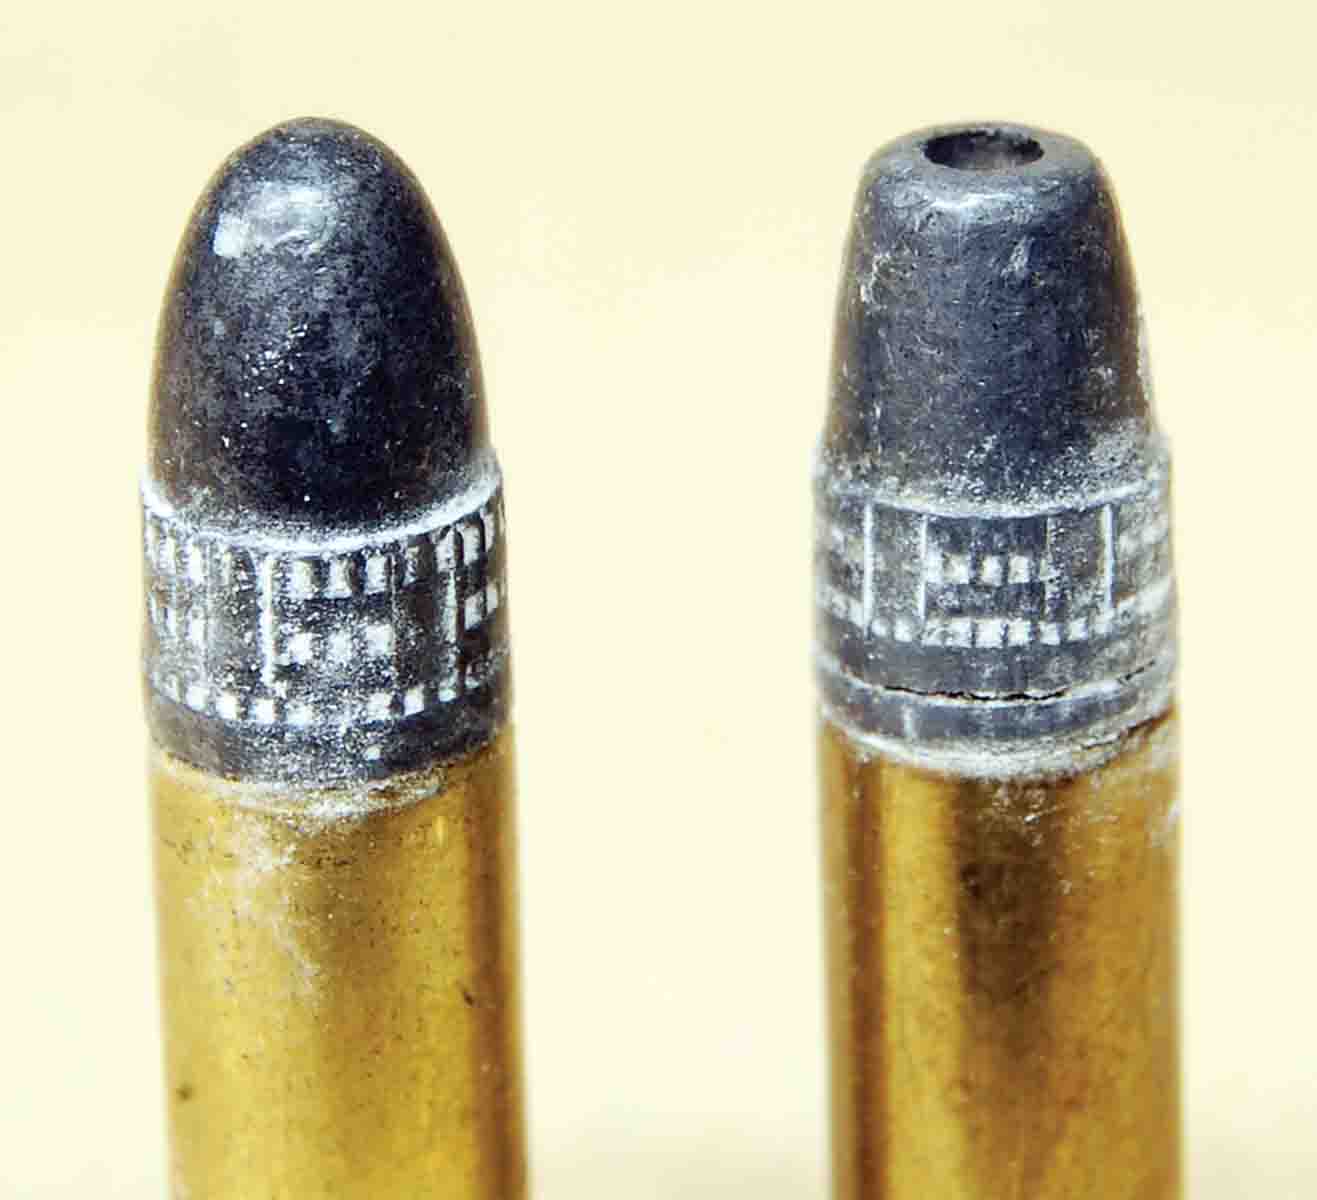
This is a Japanese Model 52C trigger showing the engagement surface: (1) the engagement adjustment that isn’t there, (2) pull weight, (3) overtravel and (4) the pull-limiting pin (small silver arrow).
After a couple of unsuccessful tries, it is tempting to start turning trigger-adjustment screws (especially the one controlling overtravel), but this is a waste of time. Trigger settings have no effect on being able to remove or replace the bolt. Be patient. With the bolt removed, proper cleaning and lubrication is possible.
One would now think that replacing the bolt is simple. Just push forward on the trigger and slide the bolt into place. Wrong. When the bolt was removed, the sear/bolt stop was held down in the fired position. Releasing forward pressure on the trigger allowed the sear to pop-up under the pressure of its return spring. The only way to get it back down is to physically push it down with a tool like a small screwdriver. Unfortunately, it was not possible to get a decent photo of this because the sear is small and lives under the receiver bridge. This operation is difficult on a target rifle and more so if a low-mounted scope is present. Thus, the recommendation is that the gun be firmly clamped in a rifle vise.
Find the top of the sear and push down with the screwdriver blade. When it stops, pull the trigger and it will drop a bit more. The bolt will now slide into the receiver until it overrides the sear and pushes the screwdriver blade out of the way. Simple, but there is a frustration factor. The bolt fitment in the receiver is so precise that just getting it started requires finesse. Also, the bolt handle must be in exactly the correct position or the bolt will jam and not move. Patience is required. Do not use force – this is no hardware store 22 rimfire!
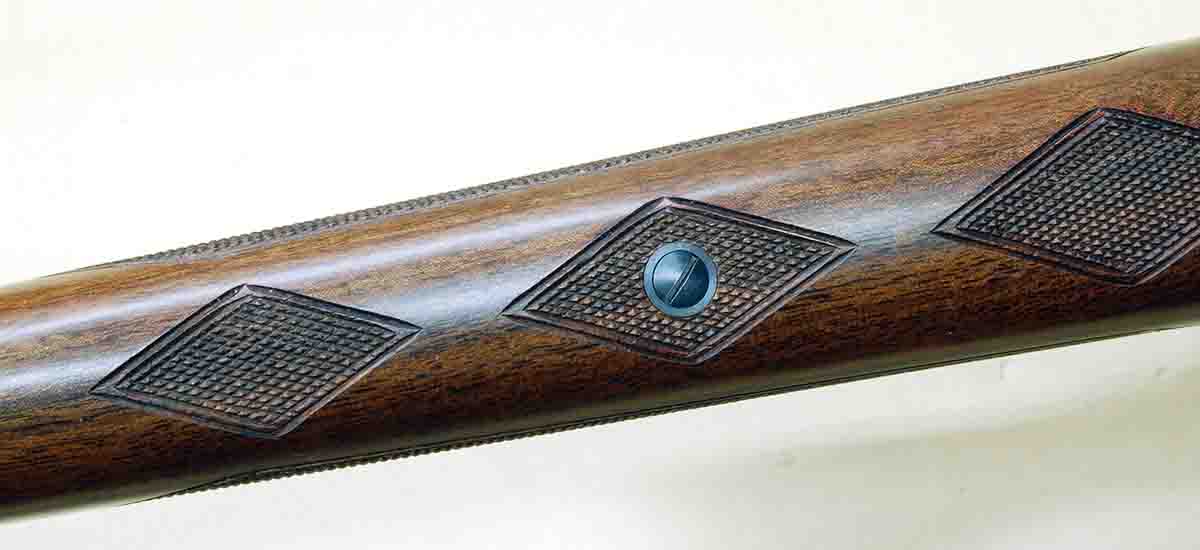
Reproduction sporters even include the forend bedding screw of original guns. Its usefulness is questionable.
The Model 52 had two more variations called Type D and Type E. Both were just single-shot Model 52Cs with stocks intended for international competition. The chance of seeing one is slim as only 700 Type Ds were made and 37 – yes, 37 Type Es. These may have micro-motion triggers or aftermarket designs.
Finally, it would be remiss not to mention the wonderful Model 52 Sporter. Apparently, it was made on all action types, early factory examples are rare. Production was officially authorized by John M. Olin on February 5, 1934. The barrel was a 24-inch lightweight contour, stock of sporter-style with forend tip, grip cap, cheekpiece and checkering. The workmanship was better than most M70 Super Grades. Each of these actions have been covered, but there is one item I failed to mention about Model 52C triggers. There is a locking screw on the left side of the trigger housing between overtravel and pull adjustment. The stock must be removed to see it. Locking these settings is a good idea on a sporter because once set for the owner, there is no reason to change them.
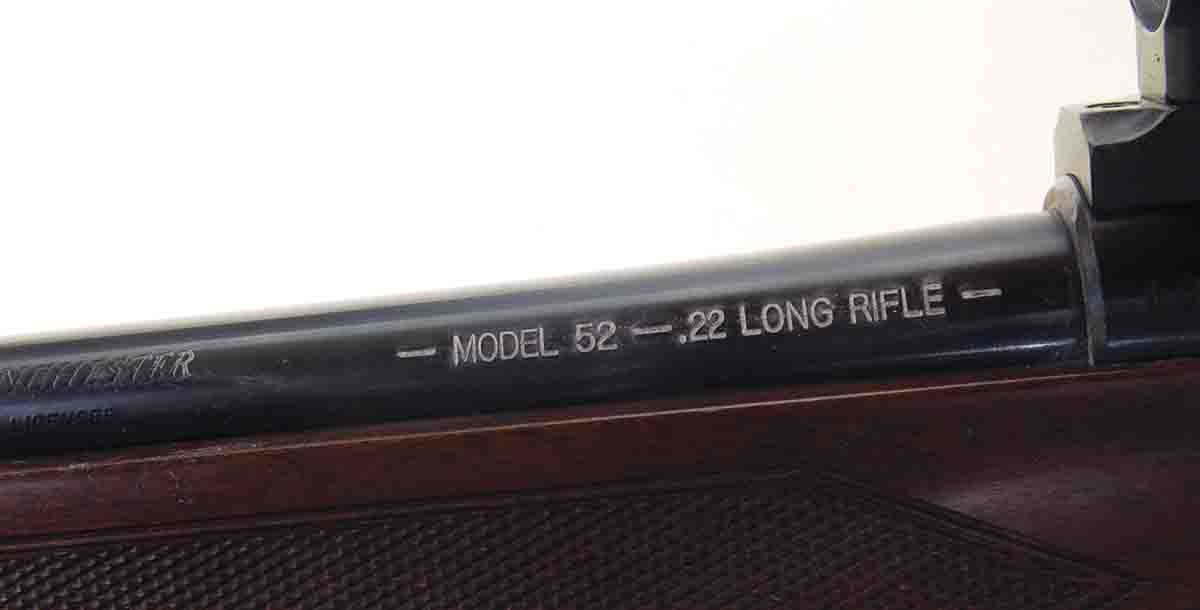
The cartridge marking on the barrel does not indicate a match-dimensioned chamber.
Unlike the Model 52C target guns that were discontinued in 1962, sporters have been reproduced in Japan and sold by Winchester and I believe Browning. The new rifle shown in the photo is marked, “U.S. Repeating Arms Co. New Haven, CT USA” then “Made in Japan” and “Model 52.” The workmanship is as good as the originals, including the micro-motion trigger, with the exception of its adjustments.
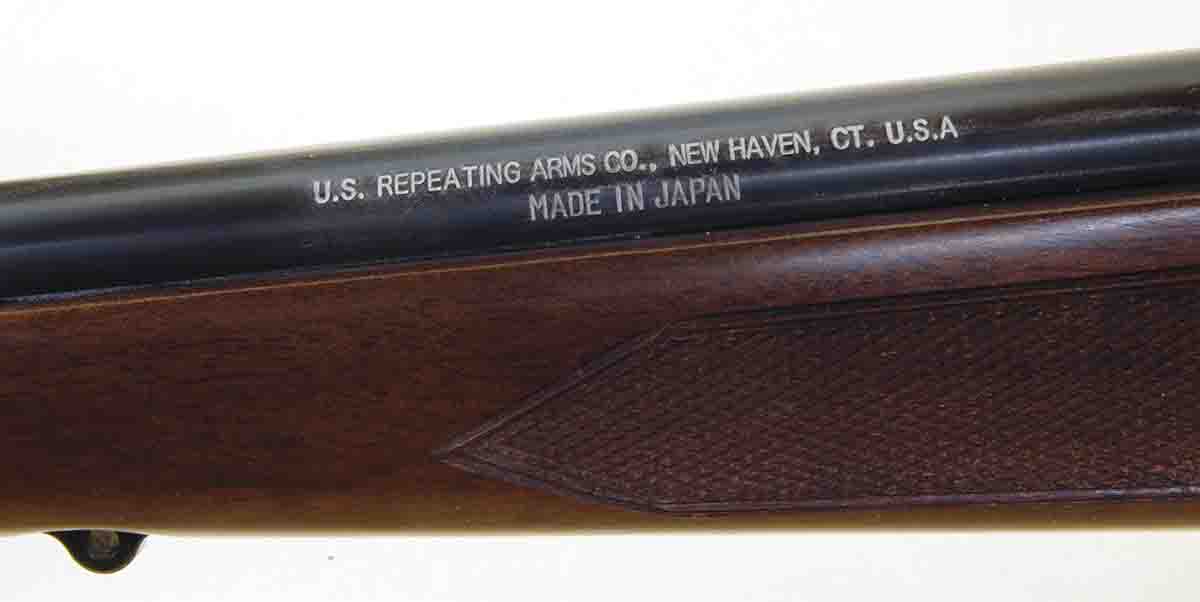
A new sporter marking, “Made in Japan.”
In the photo of the new Model 52C trigger (page 12), the numbers indicate the same locations as on the target tripper in the last column. Arrow 2 points to the engagement adjustment, but there is nothing there! The shape of the engagement surfaces (arrow 1) has been changed to decrease contact. All this is not noticeable on a sporting rifle.
Arrow 4 is a different story. This is the overtravel adjustment. This screw has a head that limits its travel. The minimum overtravel on this trigger is .035 inch, more than twice of what it should be in my opinion. This can be felt if the pull is under 4 pounds. The screw can’t be changed because it seems to be crimped in place.
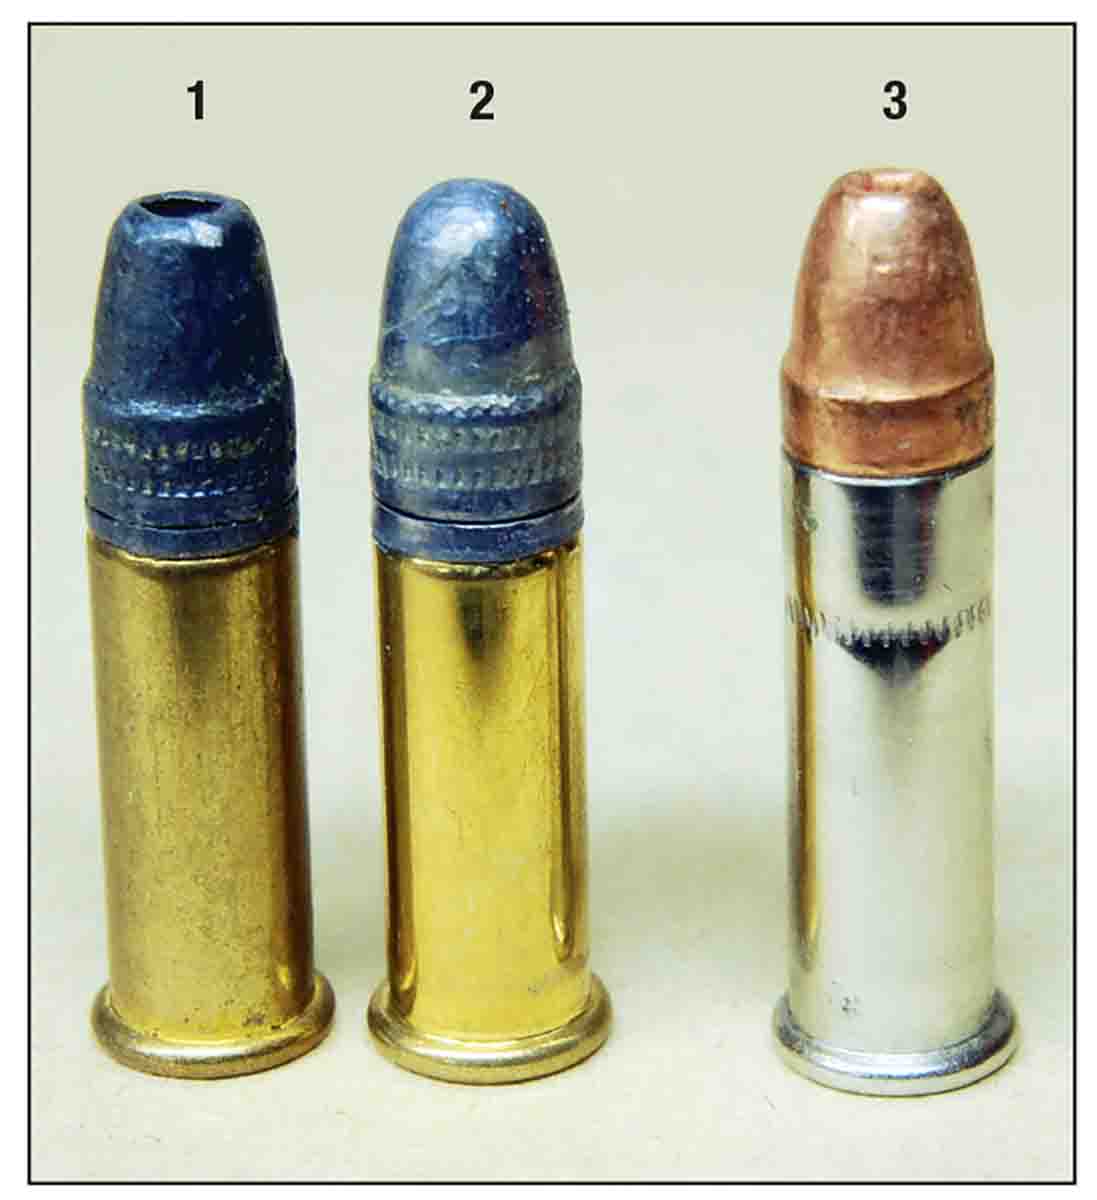
Long Rifle cartridges (1 and 2) having a normal .613-inch case, will fit in the match chamber. Long-cased CCI Stinger cartridges (3) will not.
Speaking of pull weight, the pull screw (arrow 3) is pinned in such a manner that the minimum setting is severely limited. On the trigger shown it was 7 pounds. This made the rifle useless for anything but making noise on the Fourth of July. Tap this pin out (the silver arrow points to it), then drop it on the shop floor where it will disappear forever. Set the trigger to 3 pounds or less.
Long Rifle cartridges (1 and 2) having a normal .613-inch case, will fit in the match chamber. Long-cased CCI Stinger cartridges (3) will not.
While it is not a mechanical problem, it must be mentioned that sporters (old and new) have match-dimensioned chambers. This means the chamber throat begins near the front of a standard length (.613 inch), 22 Long Rifle case. Rifling engraves the bullet almost to the case mouth giving perfect alignment of the bullet and bore. Long-cased rounds like the CCI Stinger will not chamber. Don’t force it or the chamber will be damaged. Cheaper, bulk-packed ammunition may not chamber either as manufacturing tolerances for it are wider than for match ammunition. Many folks don’t know there are three separately dimensioned 22 Long Rifle chambers: Sporting, Bentz (and its variants) and Match (with its variants). Think of the match chamber as the tight-necked benchrest chamber for 22 rimfires. Since Model 52C Sporters will make smaller groups at 100 yards than most U.S.-made 22s will at 40-50 yards, it’s worth a few bucks more to use good ammunition.
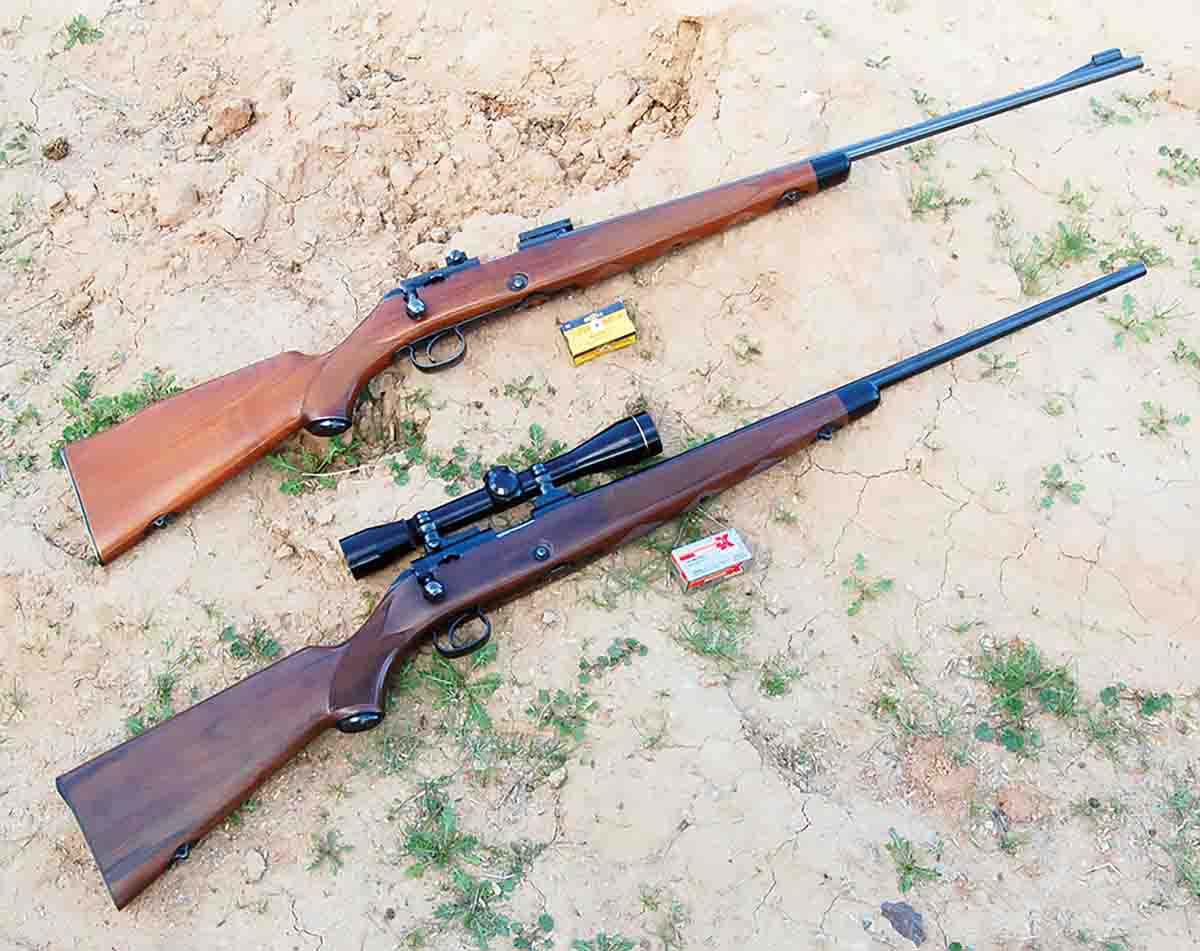
The original 52C Sporter (top) and the current Japanese copy sold by Winchester (bottom).