Light Gunsmithing
Lapping Bolt-Rifle Locking Lugs
column By: Gil Sengel | July, 18
The search for ever-better accuracy from our rifles is never ending. Not surprisingly, virtually all accuracy-enhancing developments have come from individual shooters. Among these, however, are some that sound good but don’t always work out as expected.
Another example of something that sounds good is lapping an action’s locking surfaces. Supposedly an aid to accuracy, it is always done when “blueprinting” an action and now more commonly by those rebarreling rifles that are expected to be accurate – like well under a minute of angle. But does it really add anything?
The work is actually quite simple, yet there are a number of pitfalls to avoid. First is to realize limitations. While a very few exceptions come to mind, lapping locking surfaces is generally applicable only to turn-bolt actions that are to be rebarreled. These must have locking surfaces integral with the receiver, not machined into the rear of the barrel or in an extension permanently attached to the rear of the barrel. This is because lapping can only be done before a new barrel is installed, or with the old barrel removed.Yes, I know there have been articles and even gunsmithing books that recommend daubing abrasive onto locking surfaces of complete rifles. The bolt is then opened and closed, using pressure of the mainspring on the sear of the cocked action to hold the surfaces in contact.
Trying to accomplish anything in the foregoing manner will result in total disaster. Not only will the small closing cam surfaces that pull the bolt the last .040 inch or so into battery be altered, but headspace will also increase. Six or seven thousandths inch is all there is between minimum and maximum headspace. Lapping can easily remove this much before the lugs bear evenly.
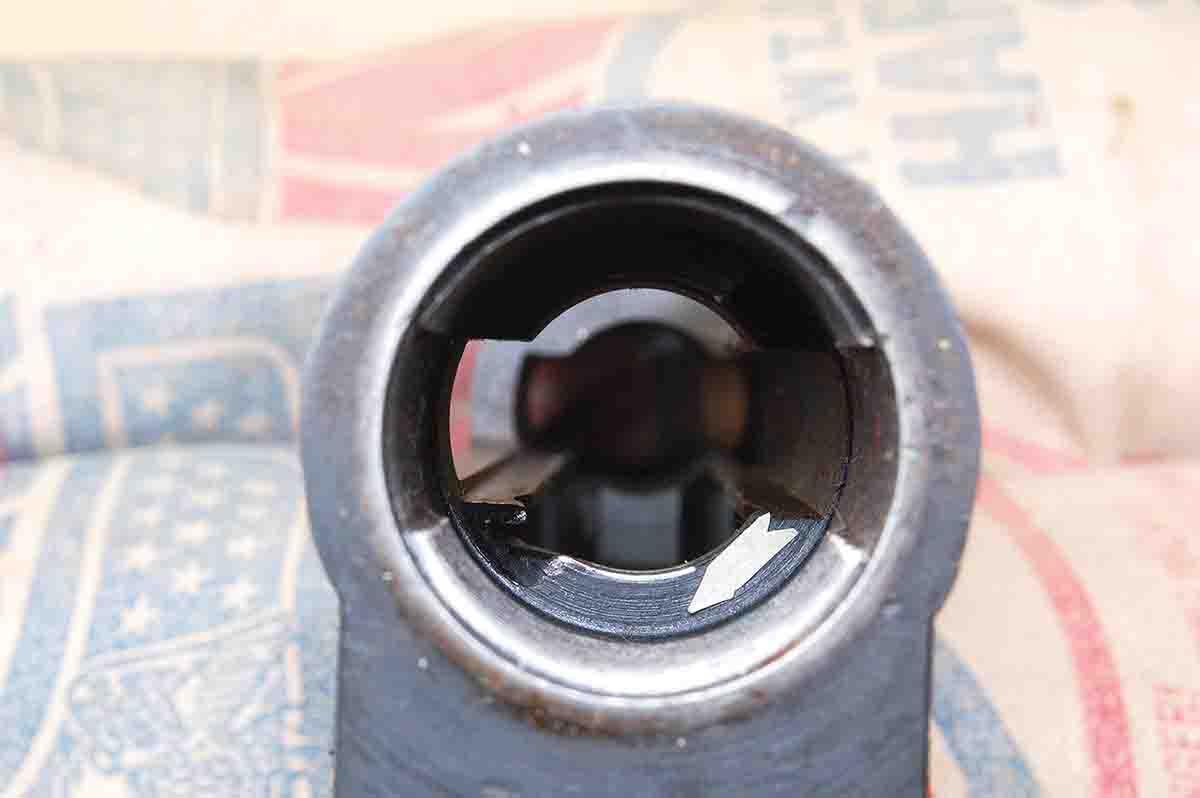
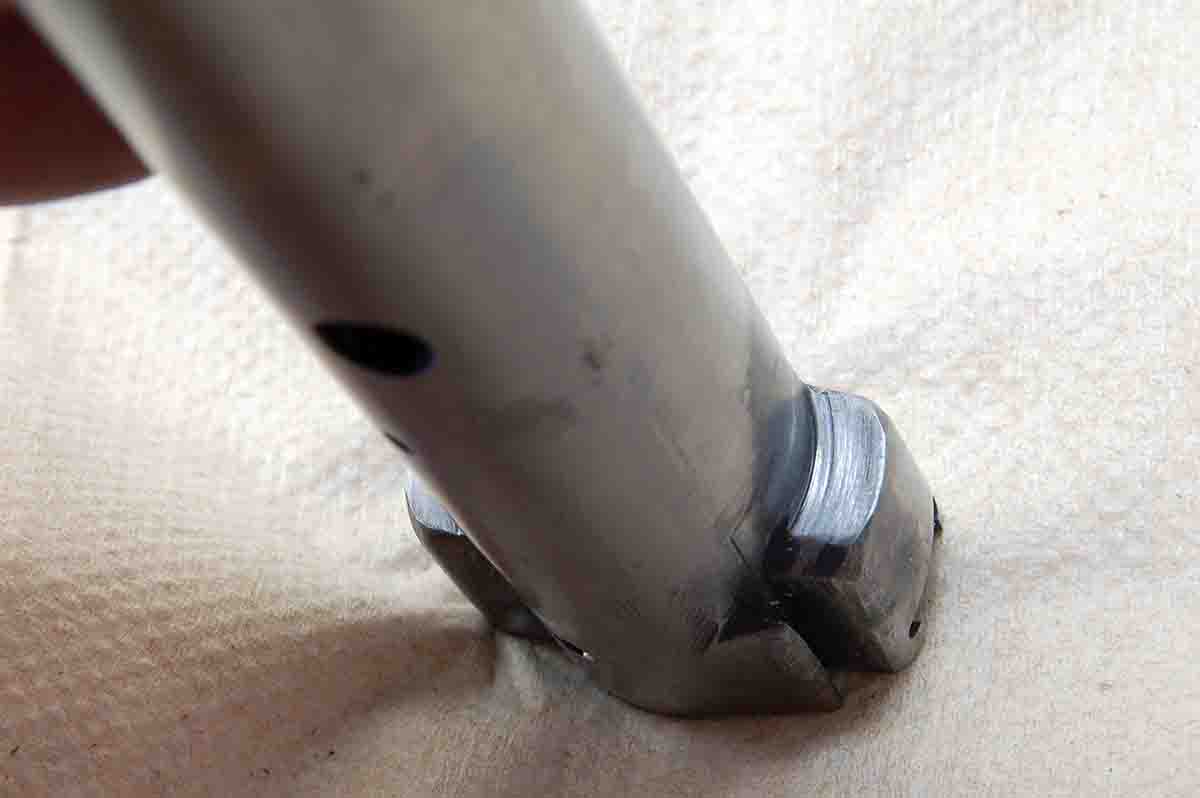
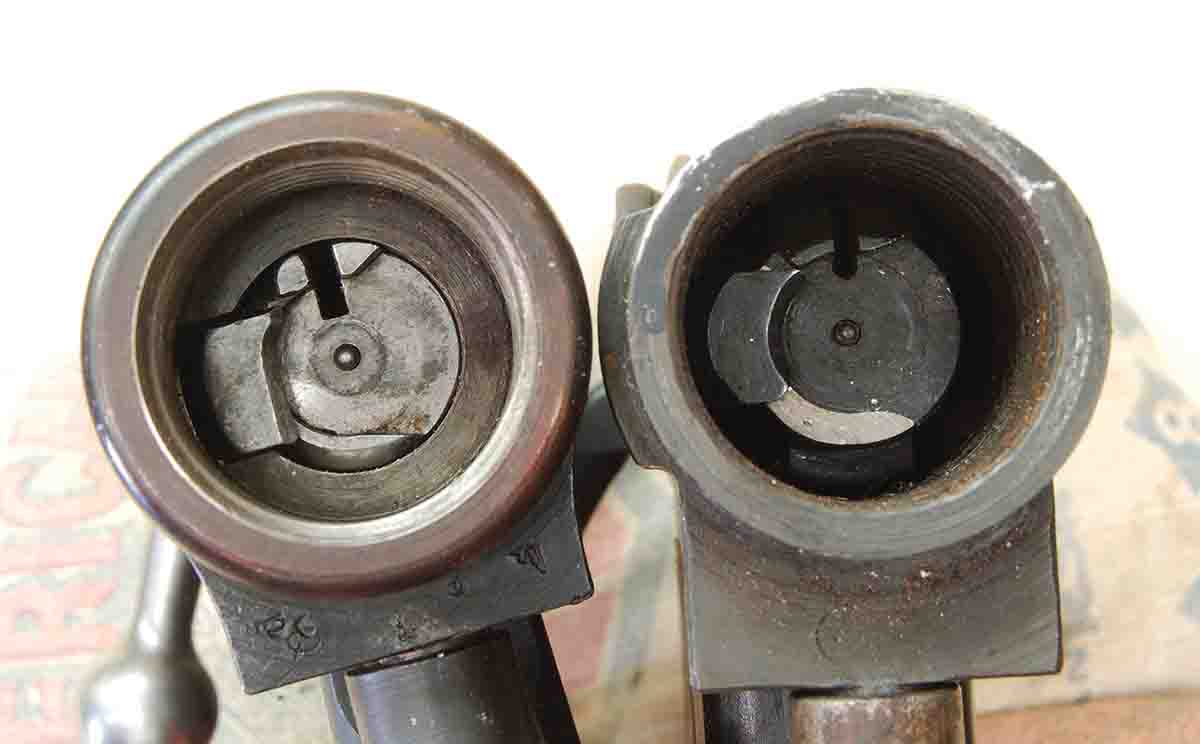
The photos show the lapping of a post-’64 Winchester Model 70 action. Note that the right-hand lug is touching its locking
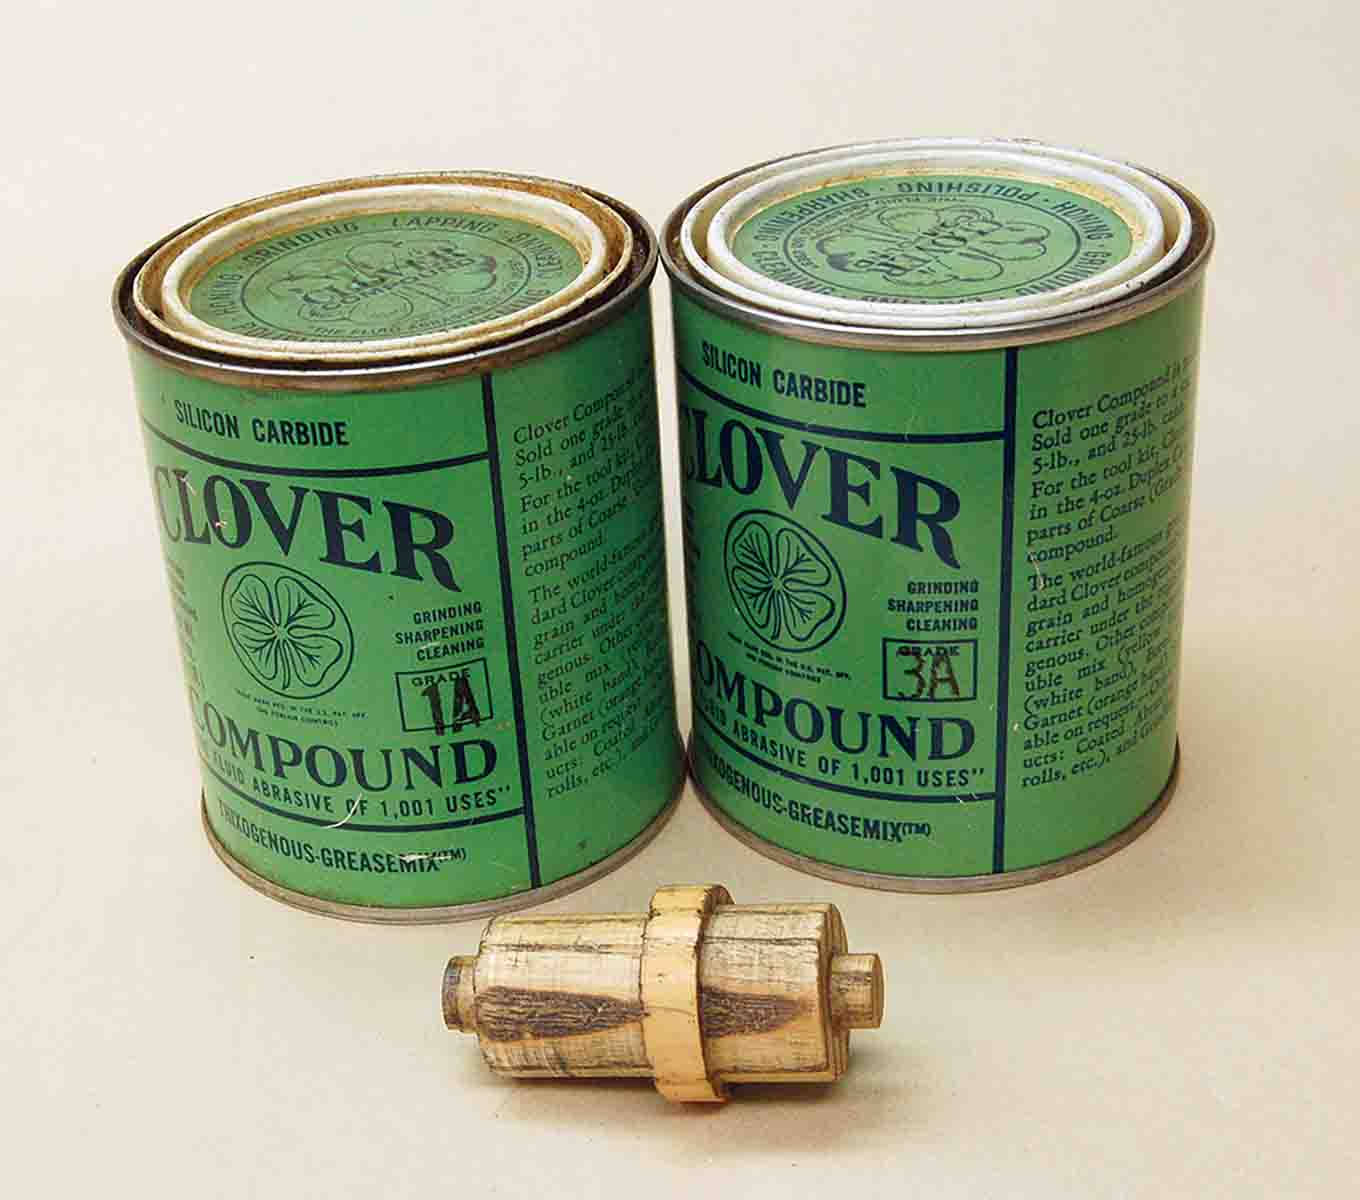
Put only a tiny amount of lapping compound on the rear of each locking lug. I use 300 grit for most of the work, with 500 grit to finish. Don’t even think about using valve-grinding compound! It is much too coarse. A one-ounce tin of the proper abrasive will lap all the bolt-gun actions in a three-state area.
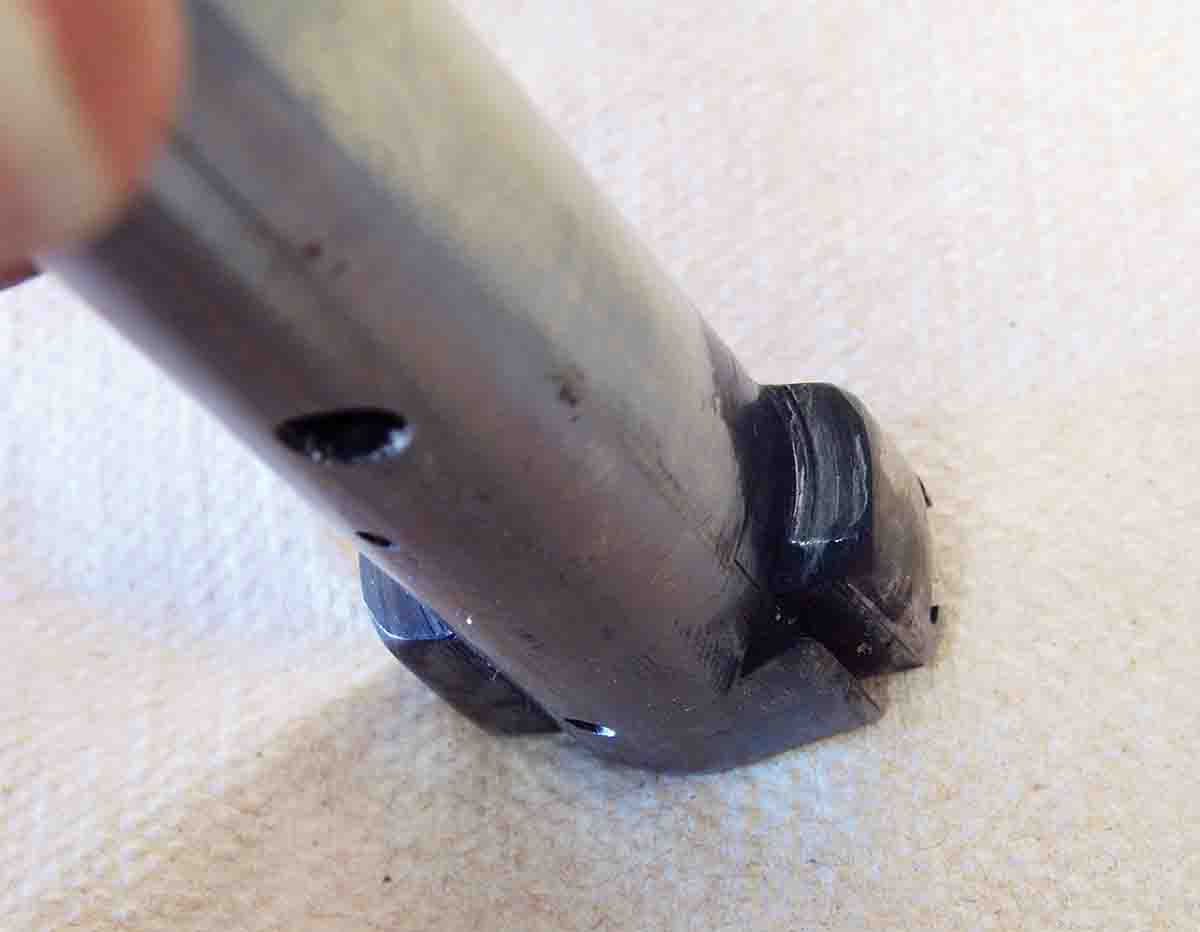
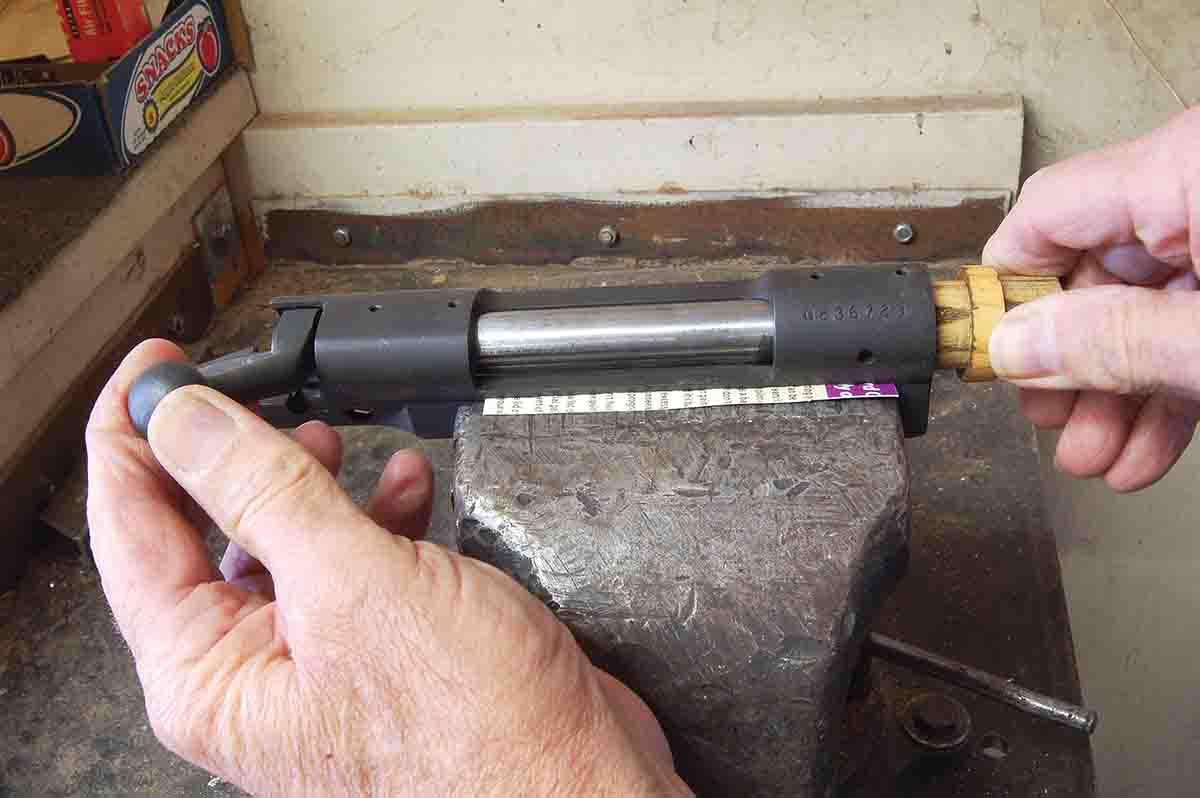
The bolt is inserted in the receiver and pushed as far forward as it will go before turning the handle down. This guarantees the abrasive will not be scraped off by the closing cams in the receiver. A wood “plug” is now placed into the front of the receiver. It is a close sliding fit over the threads and has a projection about .25 inch that contacts the bolt nose, pushing the bolt back to set its lugs against their recess.
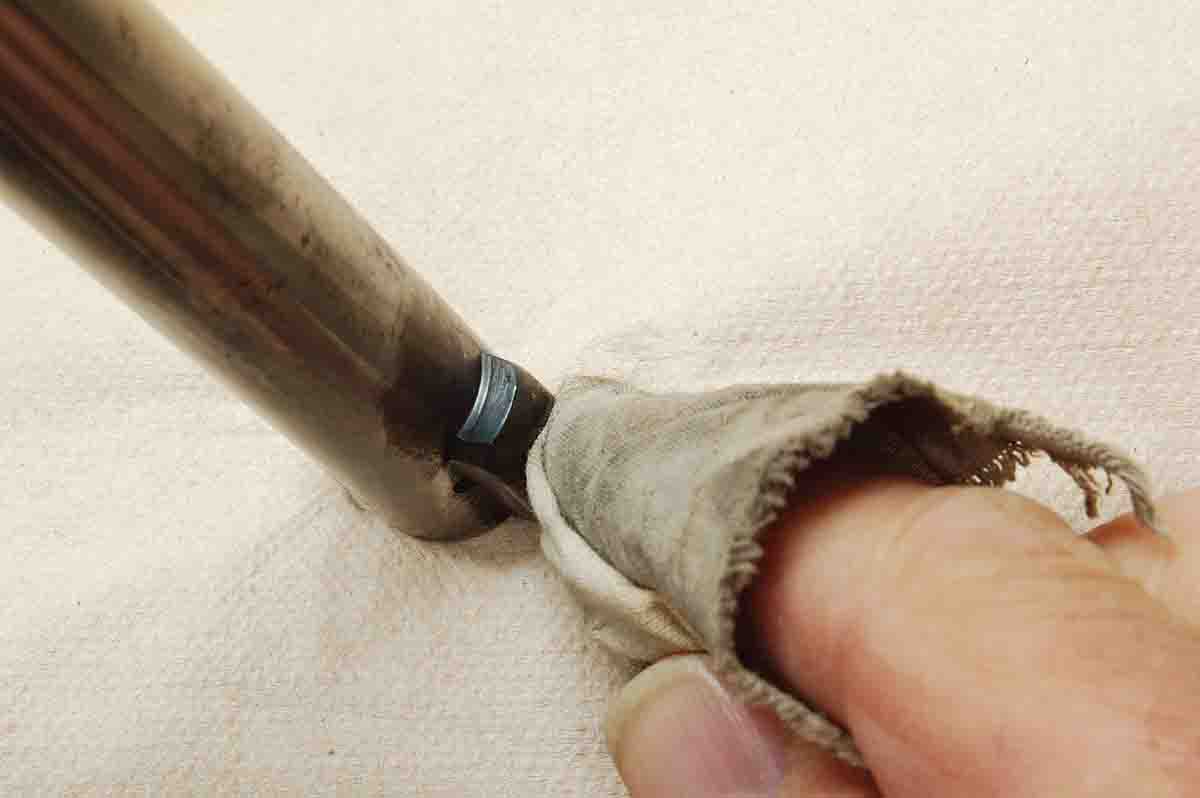
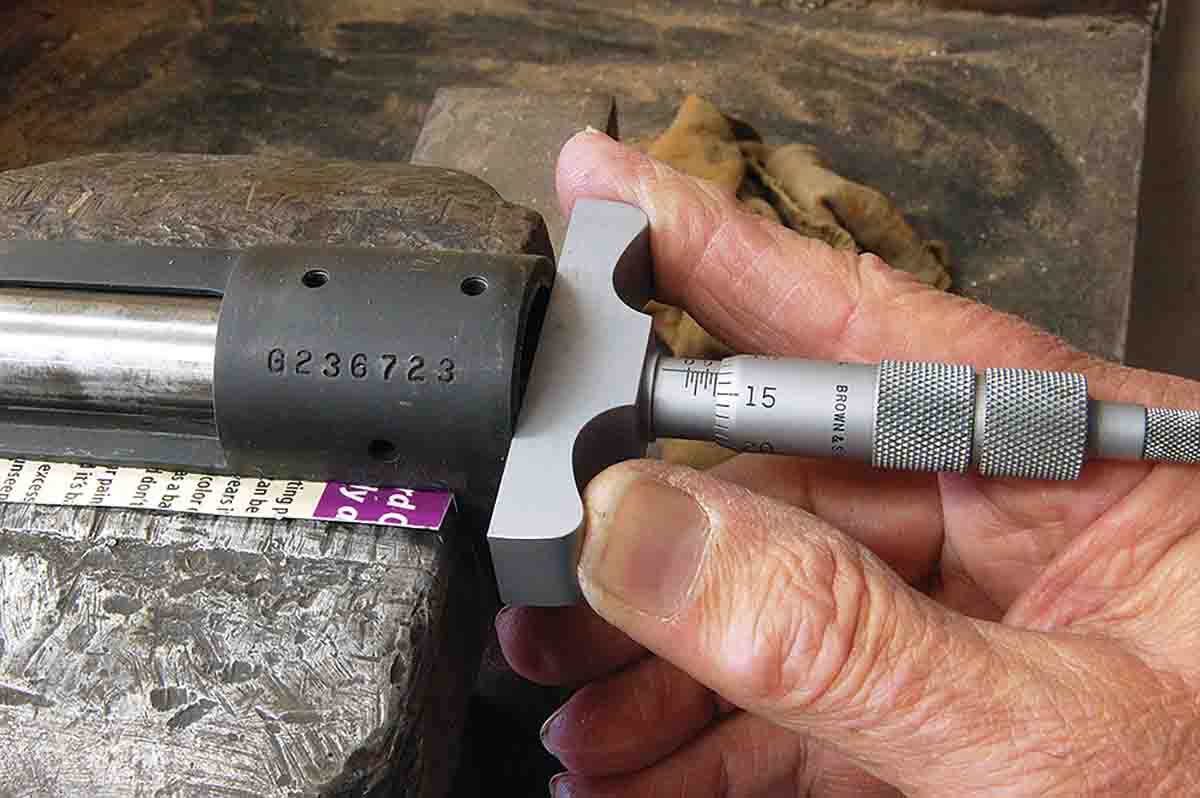
All that remains is to push back on the wood plug while raising and lowering the bolt handle about 15 times. Do not raise the handle so much that the bolt unlocks (remember the cam surfaces). Stop just short of this. Now remove the bolt from the receiver, wipe the abrasive from the rear of the lugs and see how much cold blue has been removed. Repeat the process as needed. My personal preference is for more than 80 percent contact on each lug. This usually takes about 20 minutes. When achieved, the abrasive is wiped out of the receiver and off the lugs, and a final cycle is done with 500-grit abrasive.
Now the real work begins. All abrasive must be removed from receiver recesses so it can’t get into places it doesn’t belong at a later date. Don’t rush the operation – grit can really hide.
Case-hardened actions are another matter. Here a glass-hard surface is only .010- to .014-inch deep, and the underlying metal is unaffected by the heat treatment. It is possible to cut through this thin “skin.” However, all these actions are now over 70 years old. Natural wear from simply opening and closing has worn most locking surfaces into adequate contact. If not, a few cycles with the 500-grit abrasive removes the tiny amount needed.
Of course we have not yet answered the question posed at the beginning of all this, which is if better-fitting bolt lugs add to accuracy. To test this, it would be necessary to find a very accurate benchrest rifle chambered for a hunting-size cartridge that had 100 percent locking lug contact. Then grind off the rear of the bolt lugs to give 80, 60, 40 and 20 percent contact, shooting many groups at each point. Nobody, to my knowledge, has ever done this – and I’m betting no one ever will!
Nevertheless, given the current popularity of rebarreling bolt guns, lapping the locking lugs to give uniform contact and smoother cocking is an easy project. Anyone who likes to tinker with rifles will find it worth the effort when doing a rebarrel project.